Guest Post by: Vincenzo Bellanova
INTRODUCTION:
Creative recordings, unconventional objects, perfect spots, analogue gear or the perfect tools, are all important topics when approaching to sound design. But how can we completely morph sounds and be extremely creative inside the box? Do we always need a lot of tools to accomplish our goal?
In this article we will try to find some interesting approaches to sound design, showing some tools and techniques regarding synthesis and sound processing that can lead us to unpredictable yet creative results. We will show general techniques you can apply everywhere, just suggesting interesting application on which you can hear the results clearly and immediately.
CONVOLUTION:
Convolution is an extremely powerful way to twist your sources.
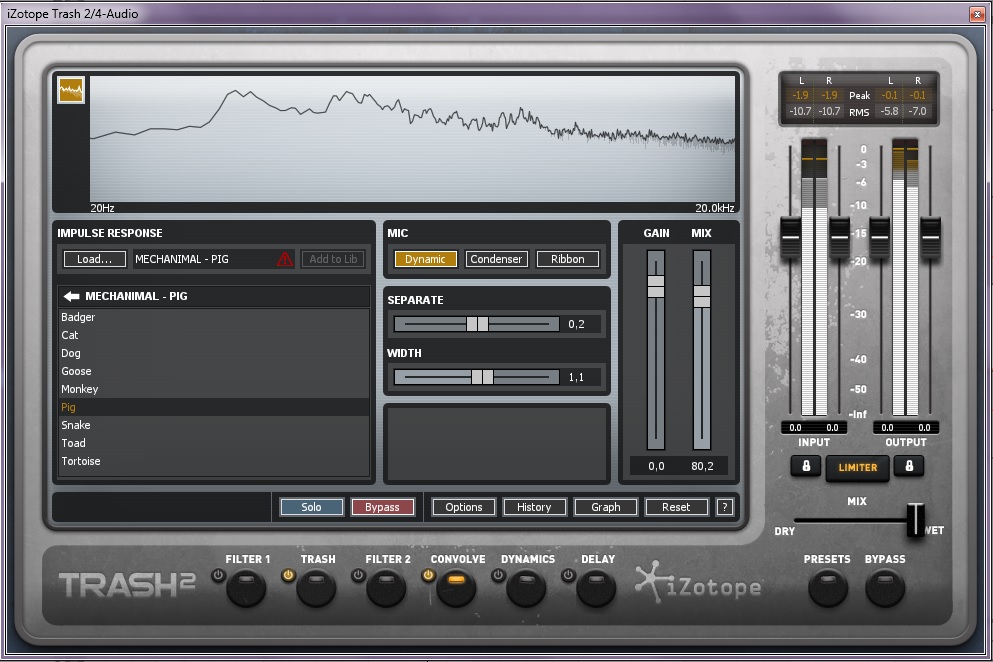
iZotope Trash 2, an acclaimed and wonderful multiband distortion unit, has a convolver section, often overlooked. Basically, you have an IR (Impulse Response), which can be any sample in your library, and through a dry wet control you can morph your source mixing the two waveforms. There are a lot of tools that offer a convolver, or dedicated Convolution Reverbs (like Max for Live Convolution Reverb Pro, which allows you to drag and drop the IR sample directly into the display), but Trash 2 offers the possibility to adjust the width of the stereo image and switch between different types of microphones. Although into a distortion unit this section can be used to emulate the behaviour of a cabinet, we can load Trash 2 just to convolve our sources.
Try it on some white noise bursts, loading a metallic hit or a percussion as IR, and you can turn your blank canvas (the white noise) into something surprisingly different, without spending a lot of time creating your synthetic hi hats into other soft synths.
Convolving a white noise sample is just one idea, try it anywhere, on rhythmic patterns or on melodic parts.
You can also rearrange the order of Trash 2 modules, by simply clicking on the Graph tab and dragging the module in the desired position. This can be useful, for instance, to add distortion after convolving your sound, since it can “close” your spectrum.
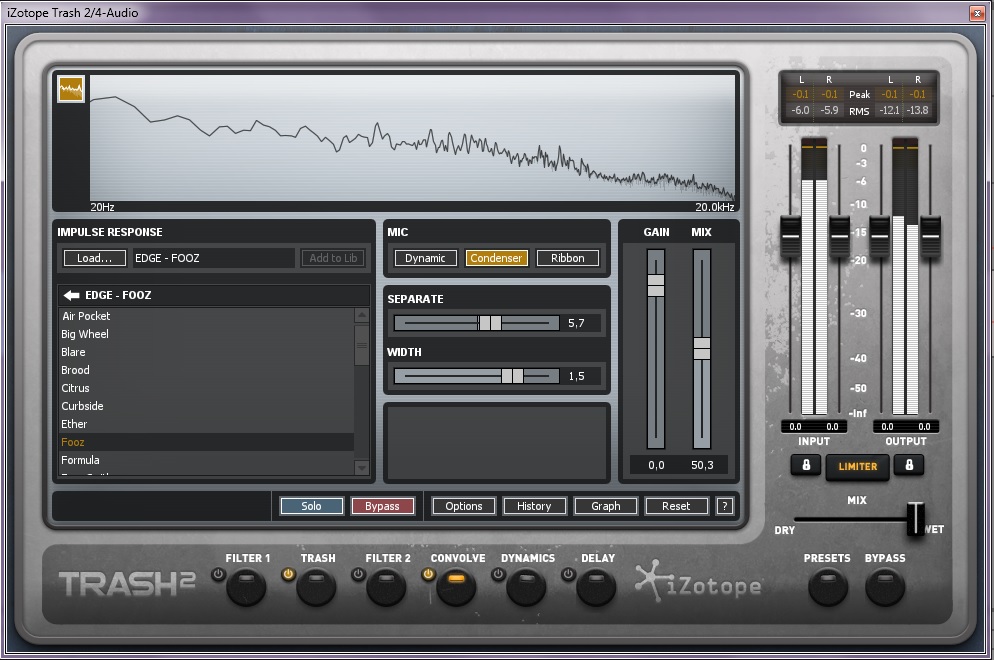

I use Trash 2 even for atmospheres and disturbing effects, by applying it on a white noise sample. First, put the Trasher module after the convolver section, then start to look at your right sample: a tonal IR can give amazing results, by enhancing resonances while leaving the “noise” tone still perceivable. Now it’s time to distort our sound, and we recommend trying the Faulty and Fuzz folders, for extreme and glitchy results. You could also design your waveshaping algorithm by adding points and moving them. Add some reverb and make the last fixes, if needed. Et voila, atmospheres, horror SFX or glitchy noises and rumbles have never been so easy!
[soundcloud url=”https://api.soundcloud.com/tracks/325846174″ params=”color=ff5500&auto_play=false&hide_related=false&show_comments=true&show_user=true&show_reposts=false” width=”100%” height=”166″ iframe=”true” /]
Trash 2 is also reasonably priced, specially in the iZotope Creative Bundle.
FAST LAYERING: S-LAYER and STACKER
How much time do we spend layering multiple sources to get a single hard-hitting and earth-shaking impact? Sometimes too much. Twisted Tools’ S-Layer, an Ensemble for Reaktor 5, can dramatically reduce the time involved in this process.
It offers 8 lanes, and each lane has a value from 0 to 127, where the number represents a single sample. You can load your own samples (up to 128) in a map directly into Reaktor (we will clarify this below).

When triggering a MIDI note, S-Layer plays a sample from each lane, on which you can also adjust a delay offset, the pitch, pan position and volume. Randomizing options are provided for each of these parameters. Importing your own samples is really easy, you can either prepare a sample map with the free SampleMapBuilder tool, or drag and drop them directly into Reaktor by following these steps:
– Select the “User Preset”
– Activate the “Show sample map editor” (F9) and the “Toggle edit mode” (F1) switches in the main bar in the upper section of Reaktor.
– Select all of the samples shown in the Map Editor and remove them
– Drag your samples directly into the Map Editor
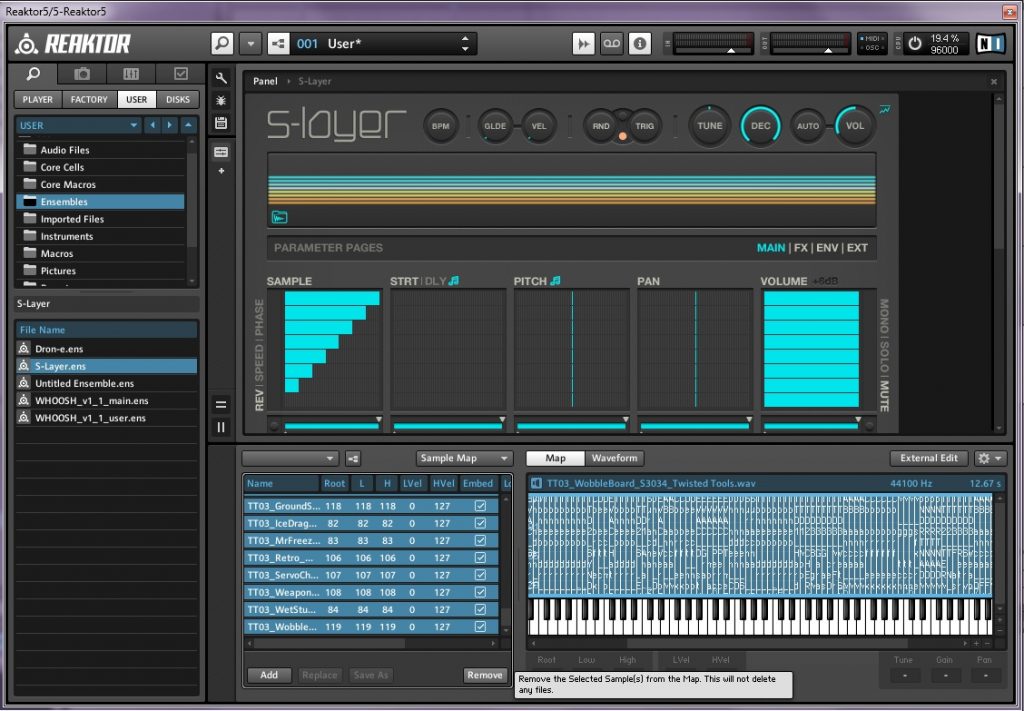
We suggest to arm an audio track connected to the MIDI track and play with it recording everything, then edit and process your sounds later.
We found S-Layer particularly useful when creating impact sounds. First, we load into Reaktor appropriate sound sources, in this case, I recorded some hit sounds in a warehouse, like brick drops, debris, metal barrels, ecc.
Then, we have to adjust the pitch and panorama range, so when we hit the Random button, we could have “controlled randomness”, and not samples playing, for instance, 2 octaves higher or lower, which can really ruin our final result. Be careful with the sources and be sure to upload them with a strategy: high metal hits can be a nice add to the top section, low booms will give us a strong low end and textural hits, like broken bricks, rattles, glass breaking, are responsible for the organic feel of the final impact.
[soundcloud url=”https://api.soundcloud.com/tracks/325846173″ params=”color=ff5500&auto_play=false&hide_related=false&show_comments=true&show_user=true&show_reposts=false” width=”100%” height=”166″ iframe=”true” /]
Once we sculpted our sound, we can fix and morph it even further with additional processing. Besides eq’ing, compression and limiting, we recommend to try some bitcrushing to add some grit to the sound (D16 Devastor 2 is a great plugin for cases like this, its Jitter control can add some pleasant high end fizz). We could be even more creative and bring out more samples out of one source, using more creative tools like Freezing plugins or Resonant Reverbs.
I tend to use a lot Holder by K-Devices and Outer Spaces from Amazing Noises, both Max for Live devices with a ridiculous low price! The first one is a freezing plugin, which can add a nice, textural and mysterious tail to our sound (sometimes an infinite tail!), while Outer Spaces is a superb reverb, with 2 key options I found so useful: a resonator and an overdrive control. Try to turn the H balance knob to its maximum value, then play with the overdrive and the Pitch knob. This will create a long, distorted tail, similar to feedback sounds, but with a huge difference: we can control the pitch right into the plugin.
[soundcloud url=”https://api.soundcloud.com/tracks/325846172″ params=”color=ff5500&auto_play=false&hide_related=false&show_comments=true&show_user=true&show_reposts=false” width=”100%” height=”166″ iframe=”true” /]

I also found that multiple instances of Holder on melodic instruments will turn it into a mesmerizing ambient soundscape. Try it on a piano to play a new otherwordly instrument!
Piano and Holder example:
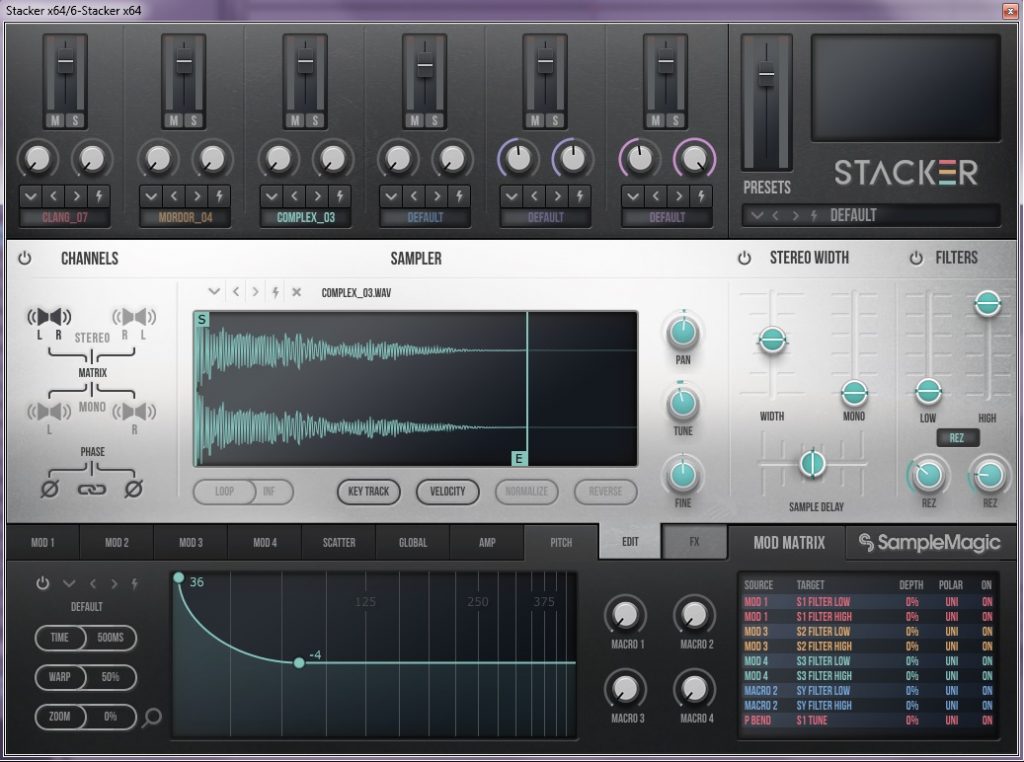
Sample Magic’s Stacker, works in a similar way, but instead of 8 lanes with up to 128 samples, you’ll have 3 samplers and an oscillator, resembling closely the system of Battery 4. It has great integrated effects and more flexibility for your sources, such as phase inversion and sample start/end trim, which can come in handy, even though you are forced to work with less room for your sample layering. Less sources but more control over some key parameters like amp and pitch envelopes. With Stacker’s precise pitch envelopes, it can be really easy to add punch to our final layered sound, by simply drawing a quick rise in the initial section of one of the sources, then we can use the other sources to sculpt the body of the sound. The oscillator section can be a really good idea for the bottom end.
RESONANCES, RESONATORS AND COMB FILTERS
It’s all about frequencies. As you may know, pitch depends on the frequency of our first harmonic, also referred to as fundamental frequency. So, for instance, 440hz, will always be an A4, no matter the instrument we are playing. And even further, you can obtain octave switches by simply doubling or dividing for 2 your root frequency (440hz, 880hz, or 220hz, 110hz, and so on.). Complex instruments won’t have just one harmonic, but their lowest, is always the fundamental. A sound we perceive as “tonal”, i.e. having a defined pitch, will, in most cases, have the harmonics on multiples frequencies of the fundamental. For further details, we recommend to get familiar with the Furier Theorem, which, in brief, says that every sound can be composed in single sine waves differing in amplitude, frequency and phase. Once you have clear this concept, you can start being creative with atonal sounds, like white noise, which contains all the frequencies across the spectrum and all at the same amplitude, making them tonal.
If you boost with an eq, with narrow Q factors, the frequencies corresponding to the notes you want to hear, you can easily achieve otherwordly sounds out of a simple noise burst! In the image example we duplicated the eq to enhance the effect.

Ableton Live’s Resonators plugin, works in this way, simplifying your work: you have 5 resonator completely tunable, the first one sets the root note, while the remaining 4 can be tuned by semitones. Try it raising the gain and the wet signal, then applying a reverb after it to smoothen the sound.
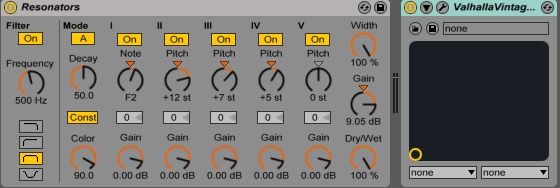
Comb filters follow a different technical approach, but the result is the same. As you may know, phase issues can boost or cut some frequencies, and the comb filter enhances these resonances with a feedback circuit. If we can pitch the root frequency, we can design tonal sounds out of noises. This is the case of NI Massive, which offers a nice section of noise samples and a comb filter with keytracking active by default (important fact, because, for instance, you have to manually activate it on Xfer Serum!).

The comb filter in Massive is extremely useful for atmospheres or enchanted, lush pads. I usually have a noise generator being my unique source, on which I adjust the Color parameter (it acts, more or less, like a filter), I apply a huge reverb on it and then add the comb filter to start hearing the magic of morphing a static, atonal noise, into a melodic pad. Just remember to turn the Damp and Feedback up. Try loading an Amp Noise and play with the parameters mentioned above. It can be useful to smoothen the envelope, in order to have a gentle attack and a long release (remember that by default, in Massive, the envelope 4 is assigned to the synth amp control). Sometimes the sound can be a bit dirty, in this case we recommend to use the second filter in serial to clean it up.
[soundcloud url=”https://api.soundcloud.com/tracks/325846171″ params=”color=ff5500&auto_play=false&hide_related=false&show_comments=true&show_user=true&show_reposts=false” width=”100%” height=”166″ iframe=”true” /]