Guest Contribution by Chris Burgess
There are two points to this article. The first is, if you see something you want to do, get out there and make it happen. The second, being that when an opportunity presents itself to you, be aware enough of your surroundings to scoop it up (and then record some awesome sounds). What follows is an account of my attempt to record dry ice on various metals. What I learned and the mistakes I made in case others wish to repeat this session for their own use.
SAFETY PSA: Please exude caution and wear protective gear when dealing with dangerous objects. Accidents can happen and it’s important to take precautions and be accountable for yourself and your team when in a potentially hazardous situation.
Speaking of your team, I have to give credit to my friends Richard Gould and Alexandre Cote who helped sample the dry ice and engineer the session. I could not have pulled this off without their help.
Why Dry Ice and Metal?
According to the always truth telling internet, what’s actually happening is an extreme temperature difference between the warm metals and the dry ice. This causes them to push against each other at very high speeds. The two elements push back and forth on each other so fast that it results in what we perceive as audible pitches Meaning the dry ice and metal could be oscillating 440 times a second. However, it is important to note that the oscillations are not periodic and therefore do not create steady pitch as would result from an instrument.
To find the materials, a quick google search showed me where to buy dry ice around Boston which led me to ACME Dry Ice in Cambridge.
Seizing Opportunity…
Around that same time, a sixteen story building under construction across the street from my home was having it’s ductwork put in and there was tons of leftover sheets of metal and scraps in their dumpster.
Onto the recording…

Here’s an example of what we captured using this stereo setup. You’ll first hear one channel, then the other, then combined in stereo.
[soundcloud url=”https://api.soundcloud.com/tracks/222833667″ params=”color=ff5500&auto_play=false&hide_related=false&show_comments=true&show_user=true&show_reposts=false” width=”100%” height=”166″ iframe=”true” /]
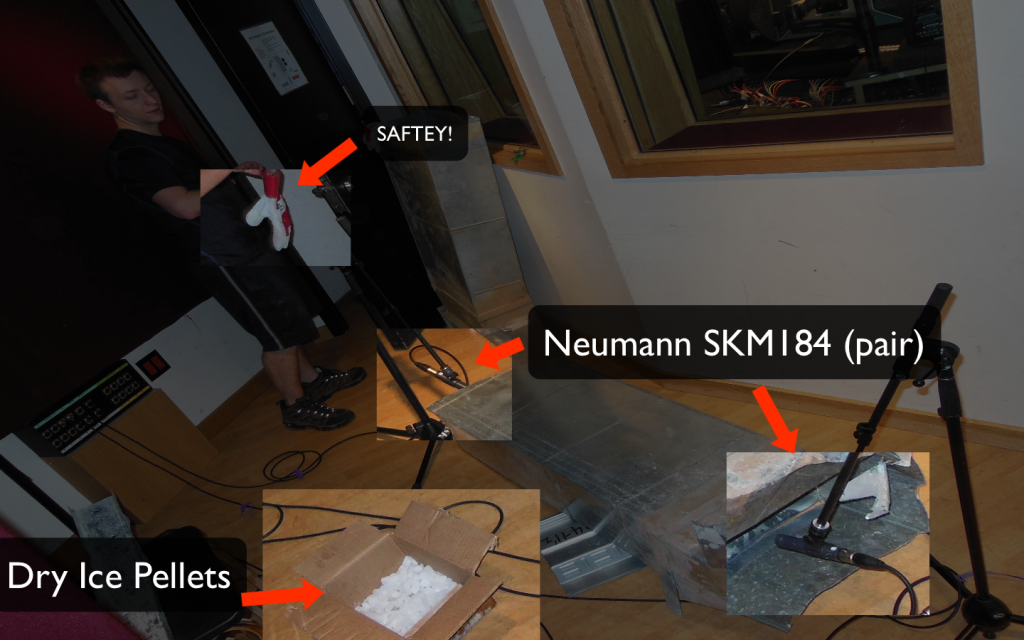
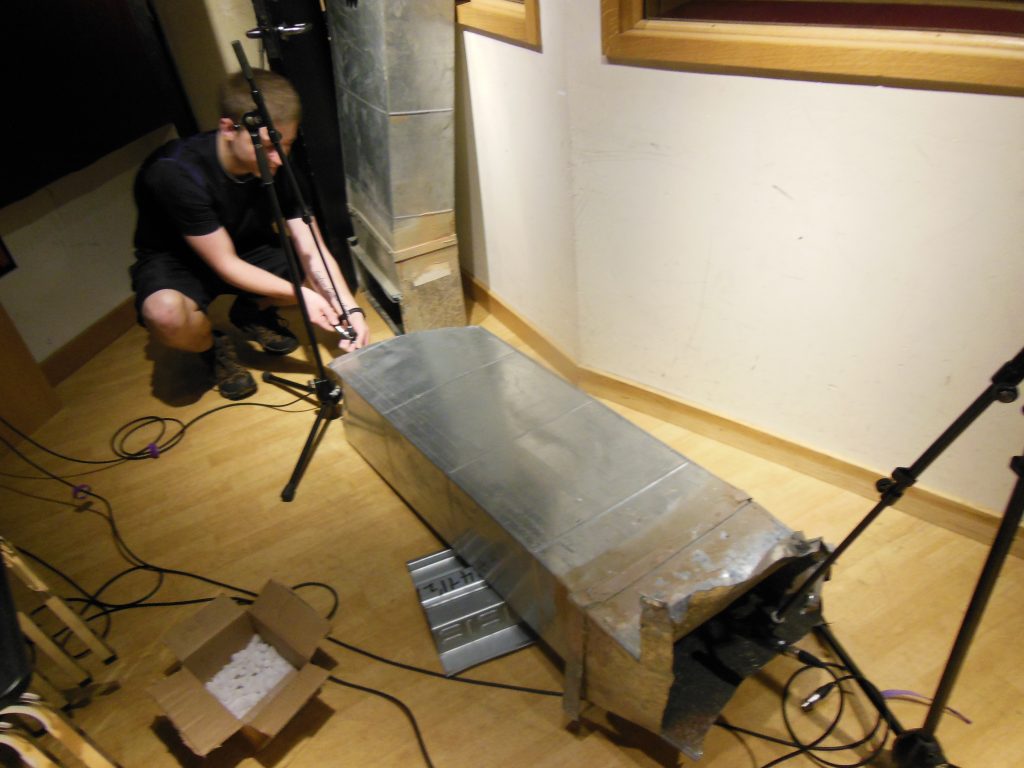
At the session our setup was a pair of Neumann 184 SKMs going into a Yamaha O2R board. The biggest obstacle at the session was gain staging a source with such an extraordinary and sudden dynamic range. Moving the dry ice along the metal would result in very subtle and quiet sounds. Yet, another millimeter to the left and wammo! You’ve got scorched Earth. We had no means of limiting at the input signal as might be available on a portable recorder. What I wish we would have thought to have done, was split the signal into a new channel, recording the same audio and set a much lower input level on the second track. This would let us capture the wide dynamic range of the dry ice without riding the levels for every single sound. If you can’t limit, at least set a safety net because clipping at 0dBFS renders the audio fairly unusable without significant audio repair.
Dry Ice Technique (Dealing with pellets, not blocks of ice)

One thing to ask when looking for a dry ice dealer is what format the dry ice will come in. Our dry ice came in small pellets which is not what we expected. The first complication with the pellets was that half of the dry ice had sublimated (gone from a solid directly to a gas. GONE!) overnight. I picked up the dry ice about 24 hours before our session time. In the future I would try to buy the dry ice closer to the session, especially with small chunks of dry ice such as pellets. Some research into how to properly store dry ice might be worthwhile as well as there are some important facts. Such as, don’t store the dry ice in an airtight container; This will cause it to explode (unless you’re sampling that!). See the linked video for a demonstration:
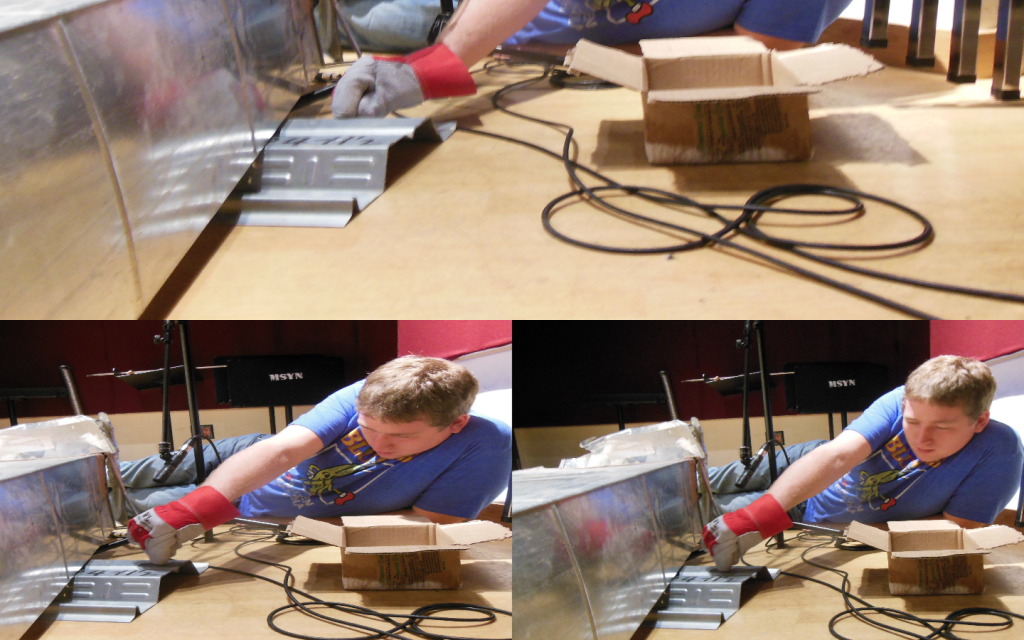
Our first thought when recording was to simply place the dry ice pellets on the metal, but there was no resulting sound. What we did not realize, was the weight of the dry ice pellets was not enough to simply sit on the metal and create the friction we needed. Once we started pressing the dry ice down onto the metal we began to find points at which the metal and dry ice would resonate.
We would hold a dry ice pellet (with gloves) and run it along the metal until until a resonant point was found. The most effective method we found (with our gain staging predicament) was to locate a resonant point and record that point multiple times until we had good takes of with proper levels. The trouble with this method is the fact that we were always losing the first take due to clipping. This becomes difficult when dealing with constantly changing elements. The metal and dry ice will only resonate if there is a vast temperature difference between the both of them. As you repeatedly press the dry ice in the same spot, the metal cools off and will eventually not make any sound because there is not enough friction between the two elements to resonate. There’s also the fact that dry ice pellets are small and tend to melt and fracture into smaller bits while you’re pushing them into the metal.
This session was very frustrating at times due to the unpredictable nature of the dry ice leaving us with a lot of dead air. Something important to note, is choosing gear that you know inside and out. Having a team that was very familiar with the gear and could react quickly, helped us all stay calm and get some great recordings in what were sometimes high stress situations.
I hope this article has some tips that are helpful for anyone attempting their own dry ice recording session. If anyone has done dry ice sessions please chime in! I love hearing what others have learned from their experiences in these mad scientist sessions.
Take Aways
- Wear proper clothing when dealing with dangerous objects that can burn, cut or harm you in any fashion
- Be aware of your surroundings and be prepared to take advantage of opportunities when they present themselves (such as a free pile of trash that you can destroy for sampling).
- Proper storage of dry ice until the session. No air tight containers.
- Record at a high sample rate and bit depth for highest quality in post editing.
- Intelligent signal flow and gain staging to save time and make sure no takes are wasted. (If you have a limiter use it as a safety net!)
- Go do something with the samples immediately! It’s very easy to record 3 hours of material and let it sit for a year. I find when you edit the material immediately you get excited about it and in turn create awesome sounds.
Here are just a few of the sounds we captured with the dry ice and metal (watch the volume if you’re on headphones):
[soundcloud url=”https://api.soundcloud.com/tracks/222840277″ params=”color=ff5500&auto_play=false&hide_related=false&show_comments=true&show_user=true&show_reposts=false” width=”100%” height=”166″ iframe=”true” /]
This is a track made with only the dry ice samples in the previous example via Kontakt. Drums were ImpactSoundWorks: Juggernaut.
[soundcloud url=”https://api.soundcloud.com/tracks/222833406″ params=”color=ff5500&auto_play=false&hide_related=false&show_comments=true&show_user=true&show_reposts=false” width=”100%” height=”166″ iframe=”true” /]
And this is what I sound like kneeling down on a piece of dry ice. Do don’t do dat!
[soundcloud url=”https://api.soundcloud.com/tracks/222859763″ params=”color=ff5500&auto_play=false&hide_related=false&show_comments=true&show_user=true&show_reposts=false” width=”100%” height=”166″ iframe=”true” /]
All the examples in this article and more can be found here:
[soundcloud url=”https://api.soundcloud.com/playlists/142626146″ params=”color=ff5500&auto_play=false&hide_related=false&show_comments=true&show_user=true&show_reposts=false” width=”100%” height=”450″ iframe=”true” /]
Cheers,
Chris Burgess
—
Chris Burgess is a Seattle based tech driven composer and sound designer focused on video games and other visual media. You can find him at www.burgessound.com.

nice article. it should be said that dry ice (as well as vinegar and baking soda) bombs are actually considered to be real “Destructive Devices” in many places, so before doing anything like that make sure it allowable by the local constabulary.
Charles, that’s an awesome point I wasn’t aware of. Thanks for the heads up!
While that’s a good point, i’m not going to call up my local constabulary when I want to mix baking soda and vinegar together. Dry Ice and metal either tbh, I just don’t see it as that big a hazard. Maybe just me!
mixing baking soda and vinegar, or using dry ice on metal is not a problem- putting it into a container which can explode can however be a problem though- it is straight up illegal in many states in the USA.
of course your mileage may vary depending on your location.
I don’t know, my number one rule is: Don’t get arrested! :)
Nice article Chris! This is the kind of stuff I was searching for before I ran my own dry ice session a few months back, some very useful info!
I agree on the safety, DO wear heavy gloves, I burnt my hand on the dry ice through the protective back it was supplied in. Crazy stuff!