This is a guest post by Ben Allan, producer at Main Course Films in Sydney, Australia. Ben recently worked both as a producer and a mixer for a film which has been produced solely for the new cinema at Sydney’s Taronga Zoo. This venue is equipped with a screen over 80 ft wide that curves around the audience accompanied with a unique surround sound system to match the screen format. Here’s his story about the aural making of this movie in such an unconventional venue.
It’s not often that a film is made for a theatre so unusual that it can’t play anywhere else. Wild Squad Adventures was created exclusively for the new Centenary Theatre at Sydney’s famous Taronga Zoo. The cinema in the middle of the zoo is a 200 seat permanent auditorium with a screen over 80 ft wide that curves around the audience. Basically IMAX meets Cinerama.
Along with the one of a kind screen, the theatre also has a unique 8 channel surround sound system, named WildScope Surround.
The sound system is a type of 7.1 with a channel configuration similar to SDDS except that, because of the extreme curve, the Left and Right speakers near the edges of the screen are so far back that they are in positions that would normally be reserved for surrounds.
So the channel config is L, R, C, LFE, LS, RS, LC & RC with the centre left & centre right speakers much closer to where conventional left & right would be relative to the room. The unique nature of this speaker arrangement and the unusual acoustics of the room meant the we would have to do the final mixing in the theatre itself to make it work.
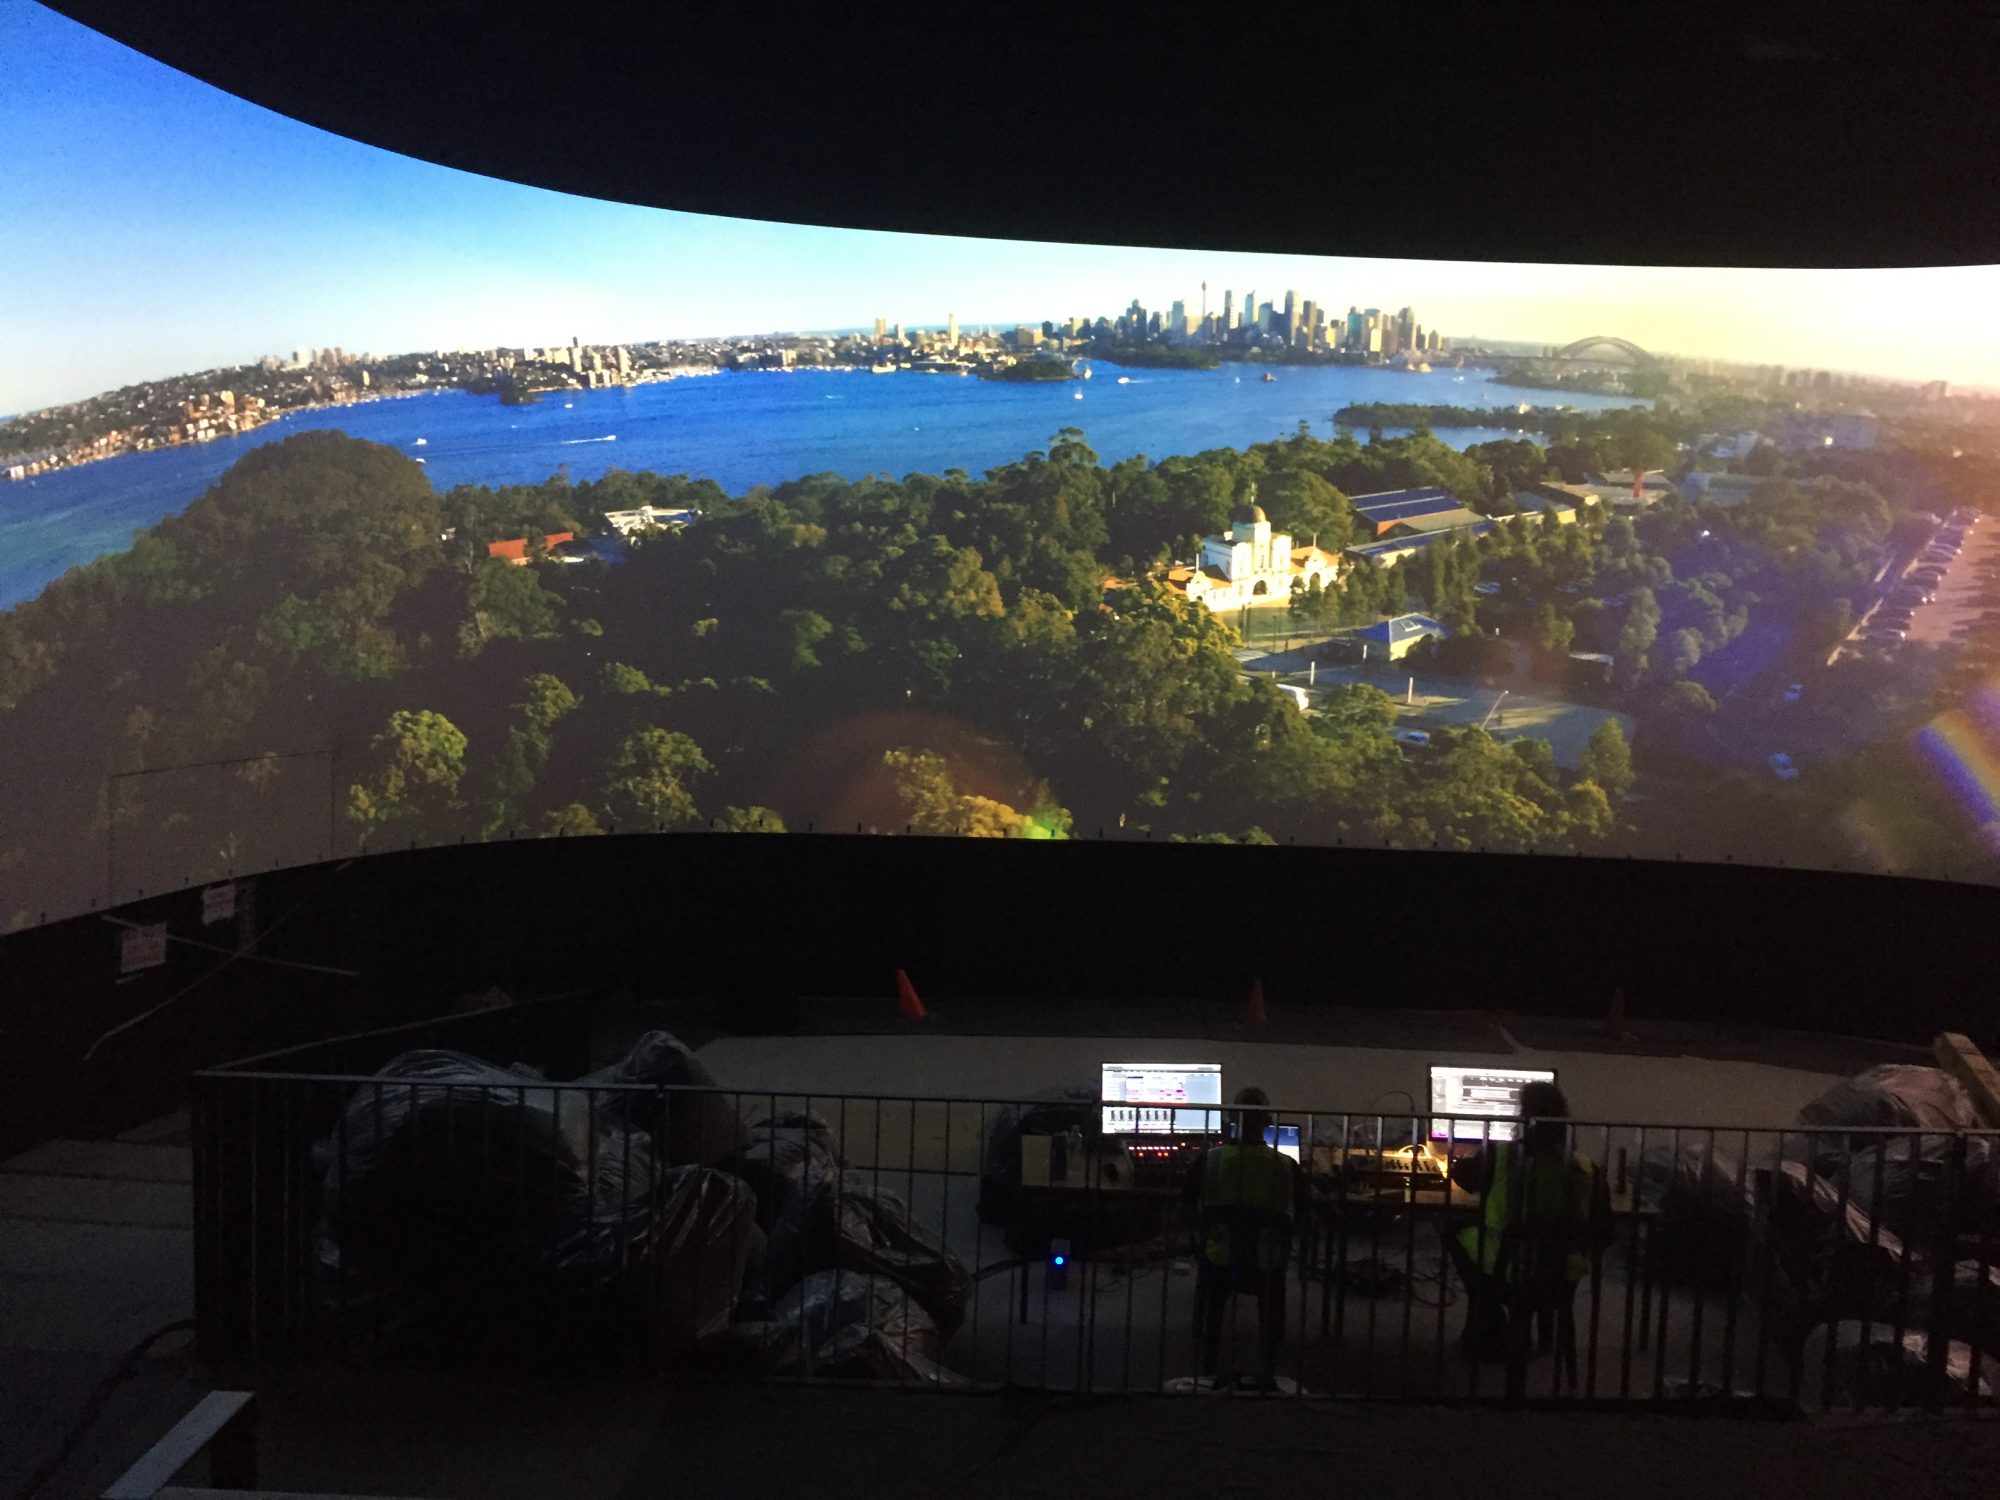
The impressive curved screen
The film is a 12 minute live action drama designed to inspire kids to get involved with conservation through Taronga’s Wild Squad initiative. With a sci-fi underground bunker, helicopter, wild locations and more VFX shots than Jurassic Park, the film is intended to get the visitor’s attention and deliver important conservation messages in a powerful yet palatable form.
Taronga were clear from the start that they wanted a blockbuster feel and a major part of our pitch to them was that sound would be a make or break element of this.
Writer-Director Clara Chong and I are both passionate about sound and Clara usually begins building the soundscape during the scripting phase. Over the years, she has developed a process using Final Cut Pro X and it’s Placeholder Generator to very quickly produce an evolving animatic edit while she is working on the script in Final Draft. This allows her to be effectively doing a video edit of the scenes she’s writing which in turn allows the script to develop very quickly to an advanced stage.
As part of the same process she also starts to experiment with music and sound effects and because this edit project carries through as the Placeholders and temp dialogue are replaced with the real material, the sounds the Clara adds early on can stay with the project as long as required.
On Wild Squad Adventures, there were a number of key sound effects that made it into the final mix after staying with the project from the script development stage.
On the main shoot, our Sound Recordist Graham Wyse recorded to the Sound Devices 788T with all actors with speaking parts wearing Lectrosonics and Graham’s son Michael Wyse (also an accomplished sound recordist) boom swinging. Even in the challenging environments of the zoo, almost all of the dialogue in the film is from the location recordings. While we were shooting, Graham also sent a wireless stereo feed of whichever sources were working best to the cameras.
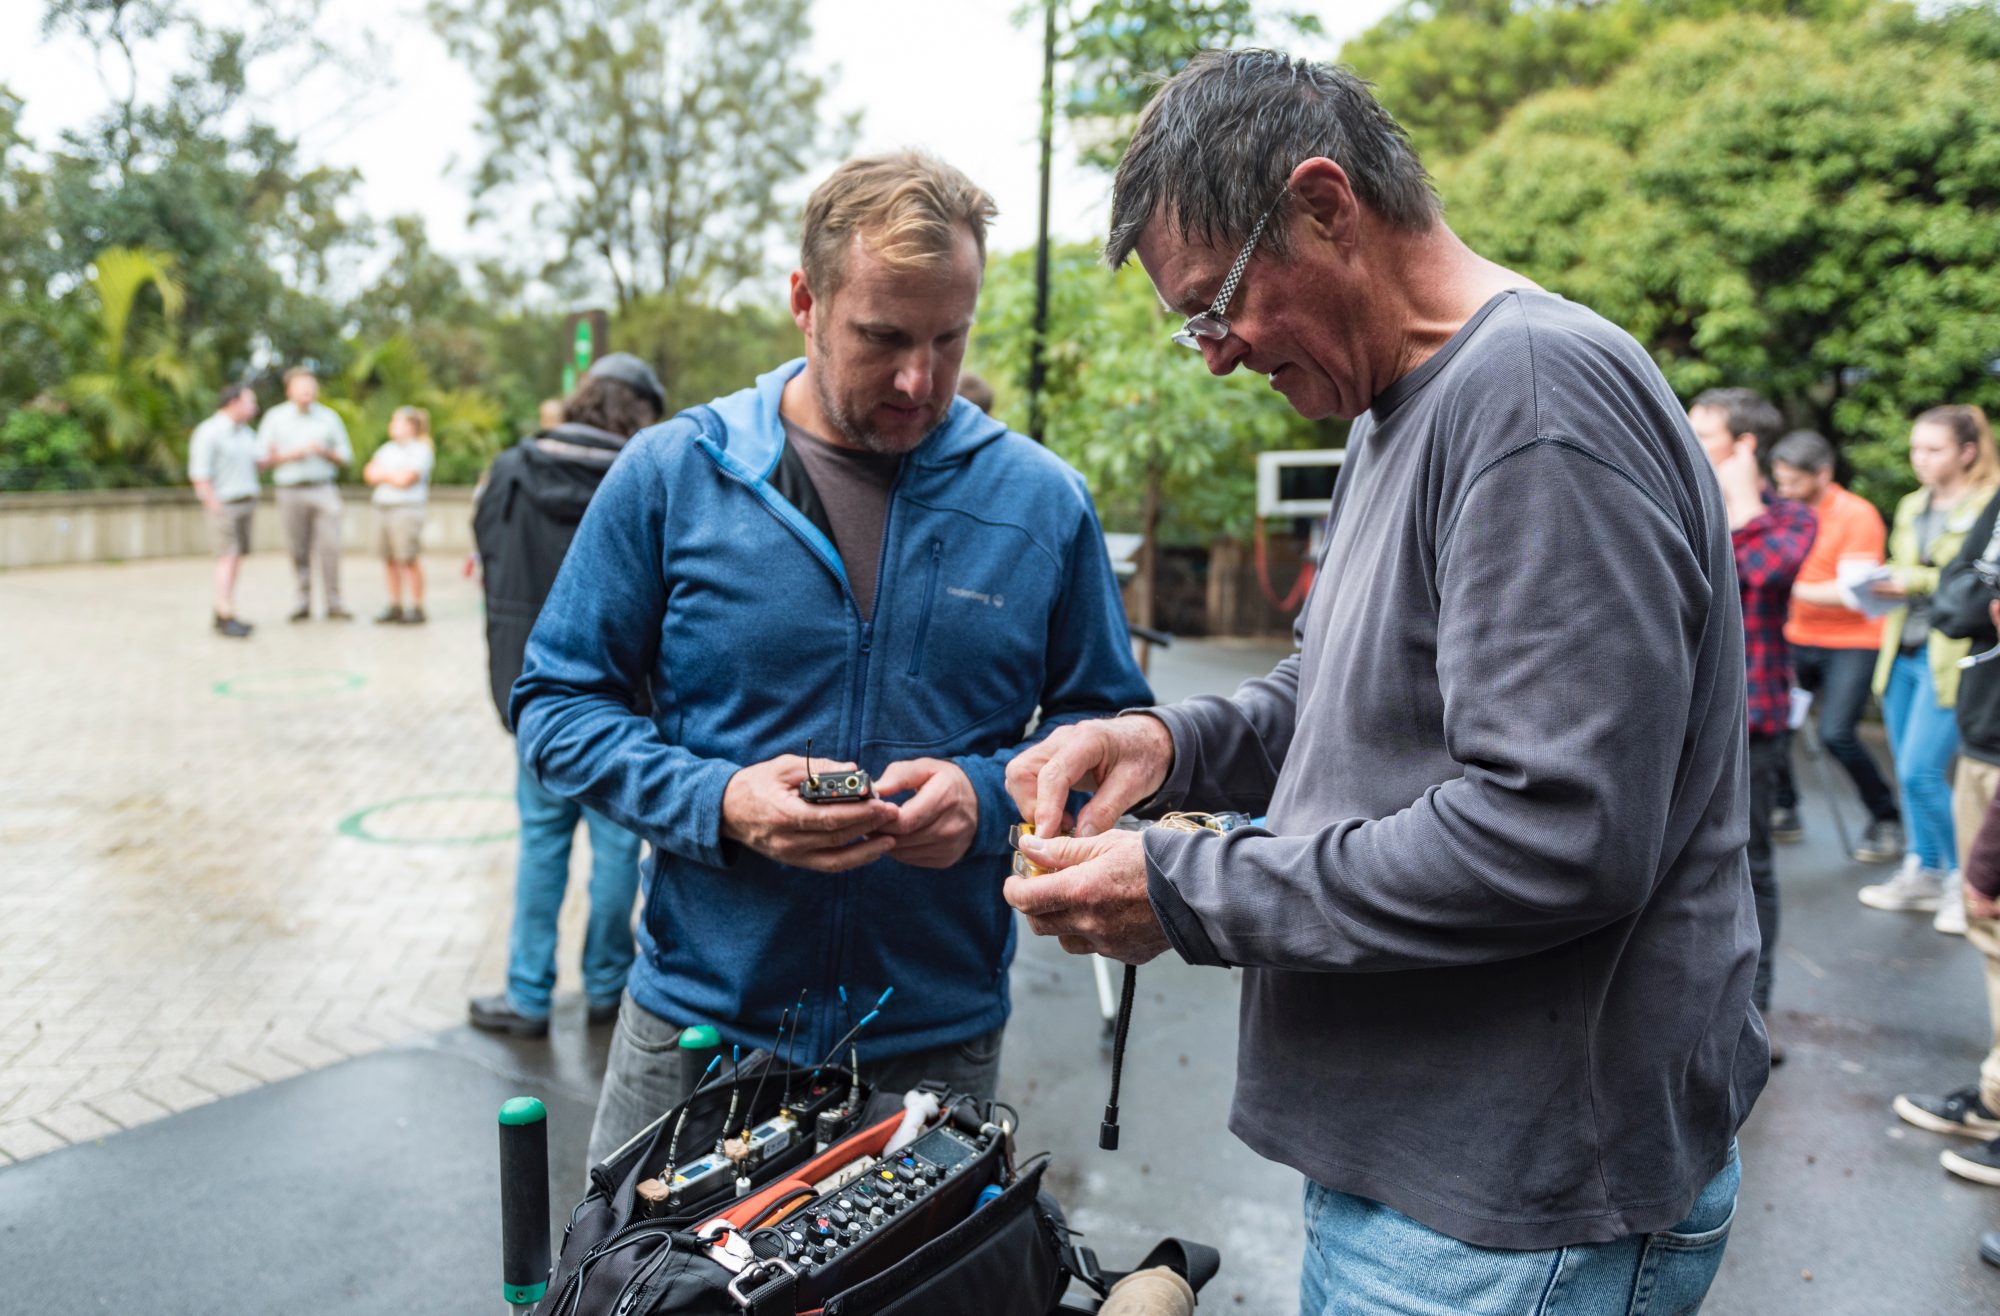
Michael and Graham Wyse
This meant that editing could begin without need for synching the multitrack audio to the video files.
Once we had picture lock, an XML was generated from FCPX and sent to DaVinci Resolve for conform, grading and picture finishing.
This same XML file was imported into Logic Pro X into a template that I had designed earlier. As part of this process, Logic automatically copies all of the audio files into the Logic project, including extracting the audio from the video files. This then made it easy to move the Logic Project to our main mixing machine with all of the media intact.
I use a pretty simple structure of submixes with Dialogue, Music, FX and a separate Atmos sub. All of these were set up as 7.1 Auxiliaries so that whatever source tracks were feeding into them, whether they were mono, stereo or surround, they would be sitting in and panning around the WildScope Surround space.
Because the theatre’s sound system acoustics are so unusual, I decided that it would be more effective to do a Stereo premix. This would avoid complications from starting to move things around too much in a traditional surround format, only to have to undo this later in the theatre.
While all of this work was being done, the construction of the theatre was continuing, so our final mixing timeline was dictated by when we would be able to get into the theatre with our mixing workstation.
Because Clara had already added a very large percentage of the required FX during the animatic and editing stages, the first thing was to start getting these well organised into a practical track layout.
Final Cut Pro X does not use tracks at all and both video and audio clips simply float in space, rearranging themselves to fit as needed. Because of this, the traditional approach of arranging certain edit track for Dialogue, Music, FX etc. is not directly possible. Instead, FCPX uses “Roles” which assign a role to each clip (eg. Dialogue, Music etc.) and in the XML export, it arranges these into tracks.
At this stage the mix also included a combination of reference tracks from the animatic and the first versions of some of the original score by Carlo Giacco. Already it was clear that Carlo’s epic, soaring adventure score was going to add a whole layer to the film.
For our working mixes at this stage, I kept using the dialogue from the edit, which was all from the signal sent to the cameras on set.
Then we used a wonderful app called Producer’s Best Friend to generate reports from the edit. This gave us all of the timecode and clip references for the material that Clara had chosen in the edit and we were able to then go back to the source multitrack recordings from the Sound Devices and compare the different mic sources for each line of dialogue.
I chose to do this process in FCPX because of the speed we were able to work through the material.
Out of the Edit FCPX project we generated Stems of the D, M, E & A Roles, that were then brought into a fresh FCPX project in the premix suite. We also then imported a Quicktime of the edit.
In this project we were able to independently switch on and off each of the submixes as required and to see the edited dialogue from the multitrack recordings, either on it’s own or with the rest of the Edit Mix.
Through this process I was able to quickly and easily choose which was the cleanest and most appropriate source for each line of dialogue in the film. For some lines, Clara used different takes for picture and sound to get the right performance for each. The Producer’s Best Friend reports made this easy to identify and include in the dialogue edit. On the shoot, Clara and Graham also made a point to get lots of wild lines from the actors and several of these made it into the edit.
Once the dialogue edit had been quickly assembled in FCPX we then generated another XML which I imported into the main mix project.
We then had each line of dialogue as it had travelled directly across from the picture edit and then a matching copy of that lines from the dialogue edit, all sitting within the main mix.
On some of the lines where Clara had chosen to use a wild line or a different take, we also kept the original in the project and this made it quick and easy to take these lines out to Vocalign to improve the sync.
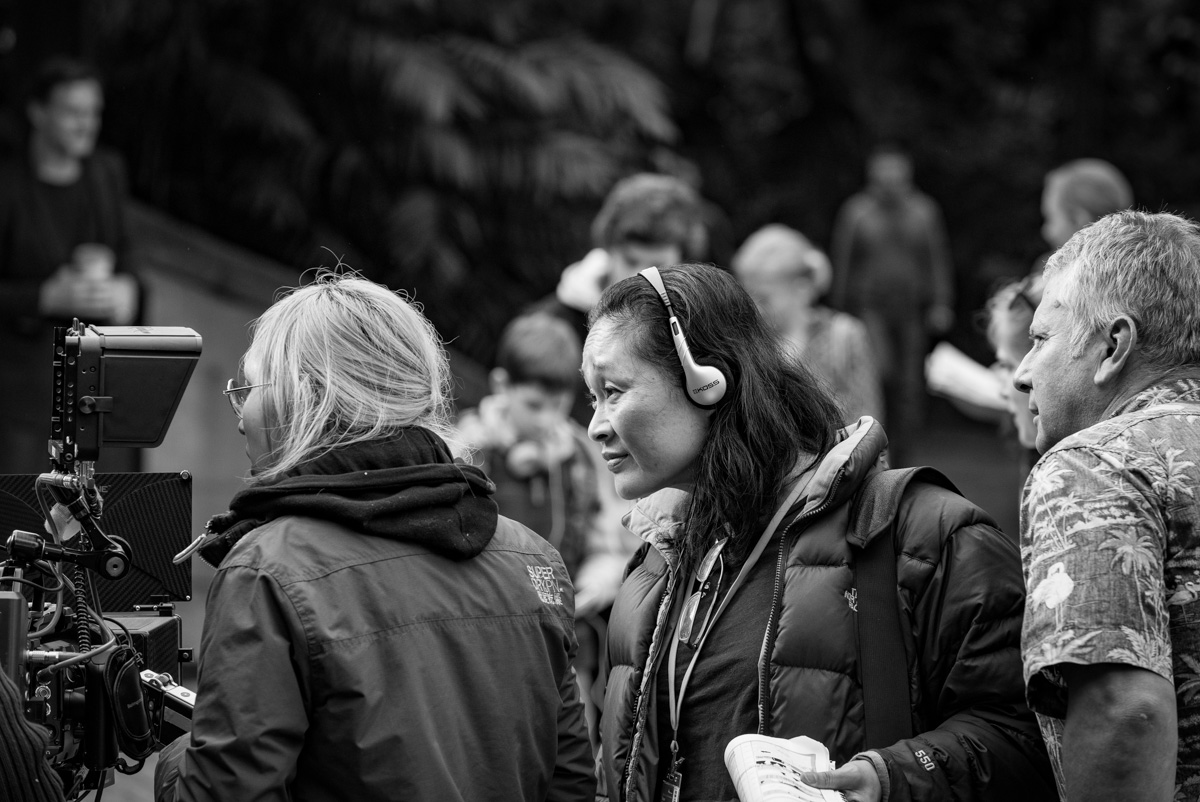
Writer & director Clara Chong
Although most of the location recordings were actually very clean, I made extensive use of the iZotope RX-5 Dialogue Denoiser to get rid of the slightest ambient and system noise which then meant that I could push the EQ and Compression very hard for clarity whenever we wanted to. On some lines we had some real background noise issues and on all but one of those we were able to successfully clean them up using iZotope. In the end, there was one line of dialogue that was rerecorded for BG noise and one that was rerecorded for a change in script but other than that, all of the dialogue in the finished film was recorded during principal photography.
With the selected clips for each phrase of dialogue in place, we added the customary mini fades to the beginning and end of each to smooth things out and then began to hone the sound of each character and environment.
The first step towards this was done with Softube’s Console-1 hardware/software package. The Console-1’s channel strip plugin and it’s tightly integrated hardware controller works particularly well with dialogue. Mostly used the SSL-4000 mode but on certain voices switched to the British Class-A mode for a little extra warmth.
The Input-Gain, EQ and Output-Gain sections are especially useful in this initial stage of refining the sound of each character’s voice. Because the Console-1 controls are not touch sensitive, it’s not so strong at doing the kind of moment by moment fine tuning that film mixing requires so much of. I use it almost like an outboard processor and set it for a track or section of a track to get the general gain and tone and then use Logic’s own EQ etc. for making those quick little adjustments to a phrase or a word.
This double stage process works very well though because it makes it easy to do and re-do those little tweaks without disturbing the overall tone that’s been set using the Console-1.
An exception to this was with the opening voice over which sets the scene with a beautifully lyrical tribute to the traditional indigenous custodians of the Taronga land. This was voiced by Taronga staffer Nardi Simpson and her voice was perfectly suited to the characteristics of the British Class-A. So for this section I chose to ride the controls on the Console-1 for a continuous automation recording on the EQ, mainly giving a top end boost to the end of phrases and boosting the bottom end for occasional emphasis. Logic’s built in de-esser then did a great job of cleaning up the top end without losing clarity.
On most off the characters I used the Console-1 SSL-4000 Compressor with fairly mild settings to avoid taking too much air and life out of the dialogue but still smooth things out a bit. Another thing that’s great about the Console-1 is that it’s possible to load elements of different channel strips into the different parts of the strip. For example, on some voices I wanted the SSL-4000 Compressor with the British Class-A EQ or vice versa. This has now been expanded to many more options including ones from UAD which is very exciting. But for the Taronga mix, even being able to mix and match the two options with their own characteristics was a great advantage.
For the in theatre mixing we needed to be able to have a system that was compact and light enough that we would be able to to bump-in and bump-out as quickly as possible since the limited timeframe caused by construction delays meant that bump-in and out time essentially came out of our mixing time.
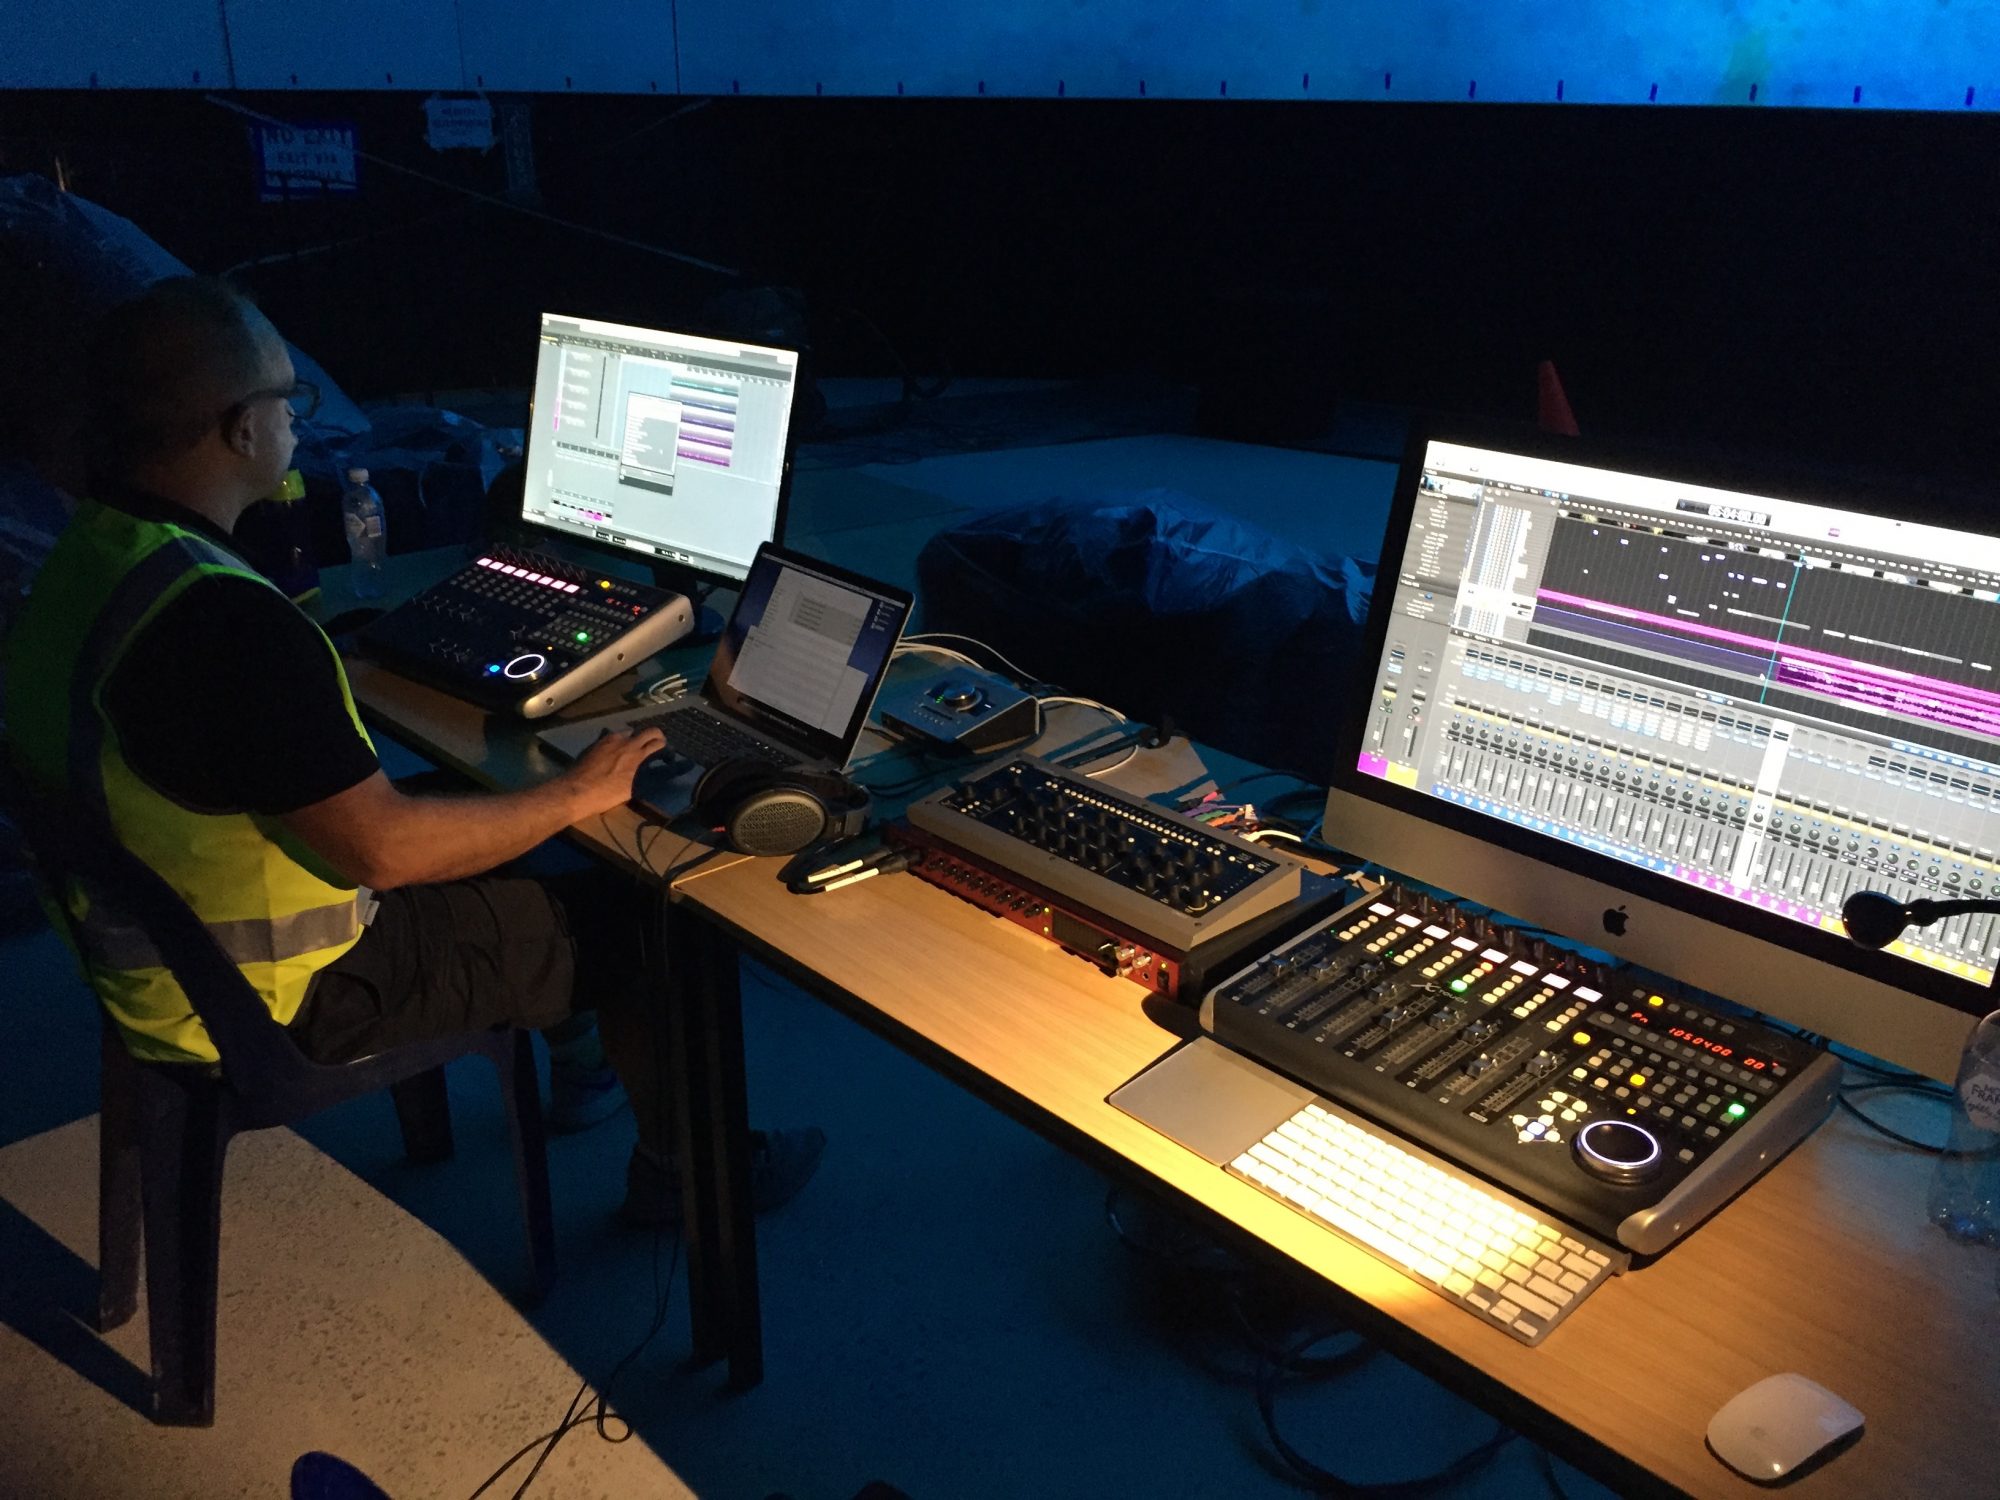
The mix station inside the theatre
We also needed to be able to output all 8 channels of surround plus timecode so that we could slave the media server to the sound mix. This was particularly important because the curved screen meant that we needed to be seeing full size pictures played out through the three projectors in order to be able to see where many sounds needed to be positioned relative to the giant immersive screen.
The Modulo Media Server that controls the playback is able to slave to an external LTC timecode source but this meant that we needed a reasonably small and lightweight solution that could feed 8 channels of audio plus timecode simultaneously and work with Logic, since we were already well into the pre mix when the specification was changed from a conventional 5.1 speaker arrangement!
The solution I settled on was using a Focusrite Claret 8 Pre connected via Thunderbolt and using and app called Horae which allows the operator to route any timecode source within the system to any audio output. This allowed us to use outputs 1-8 on the Focusrite for the Surround Sound and channel 9 for the Timecode with Horae re-routing the MTC code to the output as LTC to send to the Modulo server.
As with so many other aspects of the project, this could not be tested until the theatre construction had reached the point when the sound and projection systems could be safely installed and calibrated. Luckily it all worked and it gave a very quick and efficient system for mixing in the theatre.
As part of this system we also needed a small and lightweight control surface in order to get through the amount of mixing needed in the limited time available. I had been considering a number of different units for this job but then on one of our visits to Carlo’s music studio, I noticed that he had switched from his old Euphonix surfaces to a Behringer X-Touch Universal. The X-Touch was a controller that I had been watching for a while but I was never quite sure what to make of it. After getting some hands on time with it in Carlo’s studio and then talking with him about how it was performing, I realised it might be just the solution we were looking for.

Ben Allan and Carlo Giacco testing the X-Touch
The USB control makes it quick and easy to set up and the built in USB hub allowed us to run the Console-1 directly without another hub as the fast built in ports were all occupied with the SSD external hard drives carrying the project files. All these little things do add up when you’re setting up a system with time pressures and the combination of the iMac, Focusrite, Console-1 and X-Touch was an incredibly fast and lightweight system to move into place and get operational considering the scale of what we were doing.
I did consider adding a dedicated Surround Sound Joystick Panner such as the JL Cooper AXOS but quickly realised that the unusual speaker configuration was likely to quickly become confusing with a joystick controller.
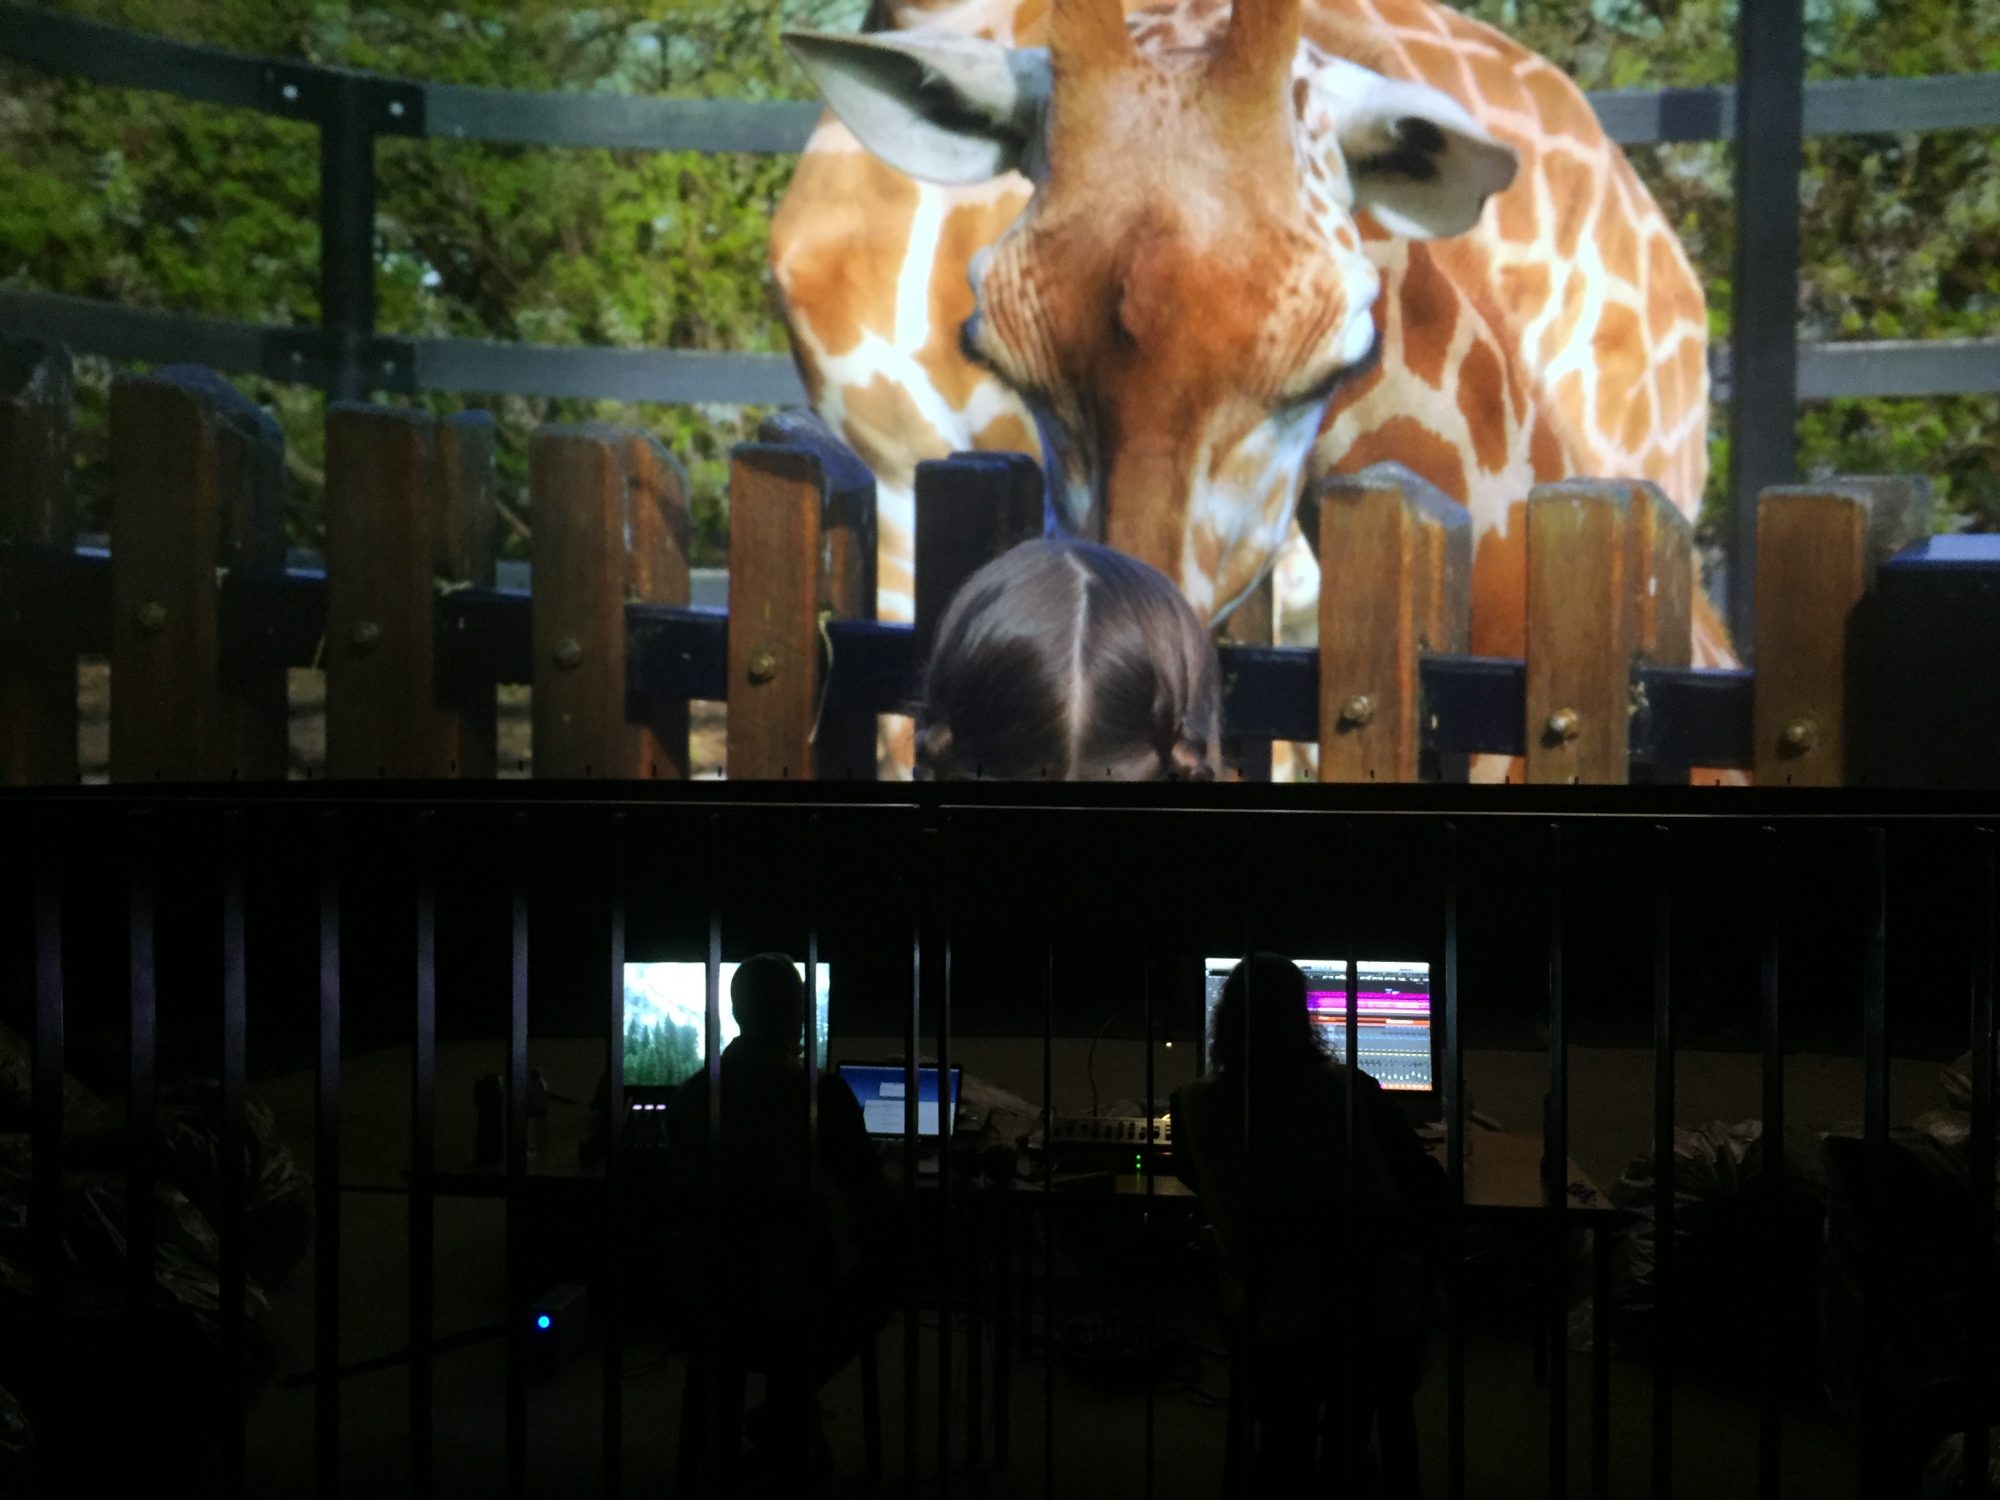
Mixing in front of the 80 ft. curved screen
Instead I found that switching the X-Touch encoders to Surround mode and then flipping the controls to the touch sensitive faders gave me very direct control over the surround parameters and with only a little practice I was able to precisely position and move sounds in realtime.
Throughout the final mix I spent a lot of time using the X-Touch in EQ mode with the built in Channel EQ and re-assigned the EQ button to the Frequency/Gain Channel View which gives me the frequency control on the v-pots and the frequency gains on the touch sensitive faders – effectively a graphic EQ with 100mm touch sensitive frequency controls.
In the end, virtually every track in the mix contained some Channel EQ automation and most with constant tweaks for every individual sound or moment.
I ended up using compressors on very few of the effects in the mix, instead tending to balance everything moment to moment with Volume and EQ. This made it possible to get sounds to hold together when needed but also to stand out in the regular moments where that was required.
For similar reasons, we didn’t use any master compressor on the output bus since this would have minimised our high impact moments at the same time as smoothing everything else out. Although this required more time to smooth out each individual sound to blend together where required, the payoffs were huge.
A couple of times during the final mix, we brought in Phil Judd (Happy Feet, Dead Poets Society) to consult on the surround. Phil’s decades of experience with a variety of surround formats helped Clara and I to pick out extra opportunities to maximise the drama and impact through the use of the surround space, especially making appropriate use of the dedicated LFE channel.
One of the elements of the mix that we had been developing throughout the production process was a library of Taronga sounds. Early on we had tried using library sounds from various different zoos around the world, but because of it’s design and location Taronga has quite a distinctive sound. The close proximity to Sydney Harbour, the distant sound of the bustling city, the Australian birds and the diverse range of accents and languages in the crowds makes for a remarkable real soundscape.
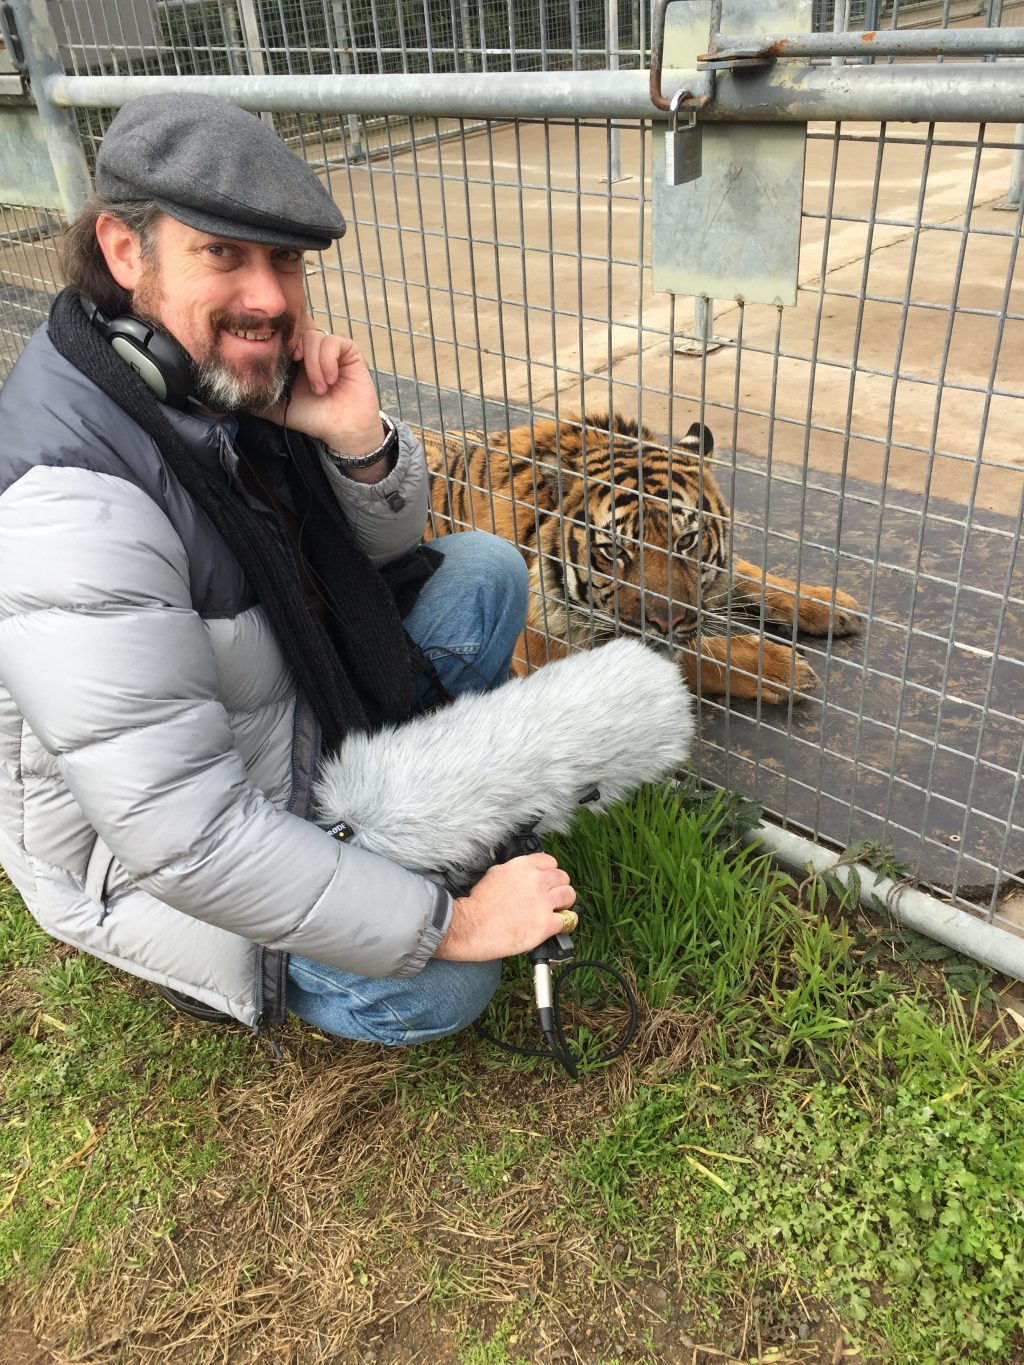
From pre-production onwards I regularly brought recording equipment on visits to the zoo for meetings or recce’s etc. This usually comprised a Tascam DR70D and a Rode NTG-2 or NTG-3 with either a furry windscreen or the full blimp, depending on how windy it was.
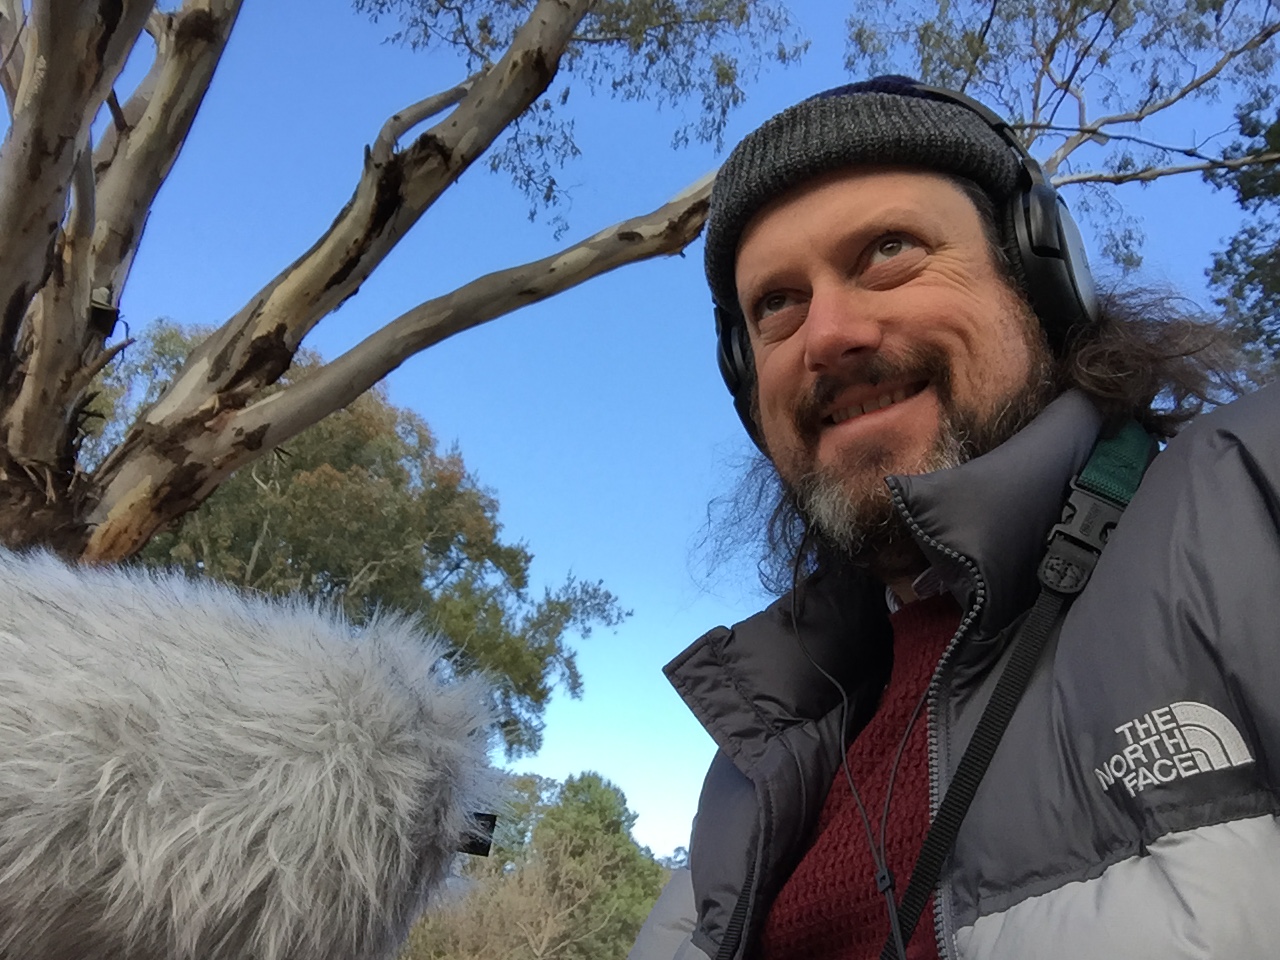
Ben Allan recording
Over time, we built up our own library of Taronga ambience tracks. During the surround mix, we took 50 of the best of these and in a separate Logic project built them into a massive surround sound mix which I then bounced down and brought into the main mix as a single 7.1 track. We could then use different sections of this file in various sections of the mix where we needed zoo ambience. The final effect not only grounded in the reality of the zoo but also opens up those scenes to feel much bigger and more airy.
We had a similar challenge with the underground bunker ambience. From the animatic edit onwards, Clara and I had tried quite a large number of variations on “busy room” atmos tracks and none of them had quite the right balance of busy, serious but enthusiastic activity. I realised that the theatre itself had similar acoustics to the HQ location so we brought in groups of zoo staff, usually about half a dozen at a time and got them to talk about animals and Wild Squad etc.
In the same way that we had for the zoo ambience, I created a dedicated Logic project for the HQ atmos track and built these recordings into a single, cohesive surround track which could be dropped into the mix on a single 7.1 track.
One of the last elements that we added was in a sequence which features the Sumatran Tiger. I recorded all of the grunts, growls and breaths of the tiger on the same day as we shot the visuals of the big cat at the Taronga Western Plains Zoo in Dubbo (about 300 miles West of Sydney). But some of the shots had footage of the tiger prowling through thick ferns and bushes. No matter how many times we tried, none of the library fx we found sounded right! So on the afternoon of the last day of the mix, Clara and I went out into the zoo with the Tascam and NTG-2 and found a quiet spot with the right sort of ferns and Clara recreated the movements of the tiger while I recorded the sounds.
When we dropped it into the mix, the difference was amazing! Suddenly the sounds fit perfectly with both the location and the movements of the tiger. We certainly hadn’t anticipated that that last hours of the mix would include rustling around in the bushes of the zoo creating tiger foley!
In many ways, it was the perfect finish to a project which included big drama shooting days as well as lots of little recording’s to grab original elements to heighten the soundscape.
The finished mix was bounced to an interleaved 8 channel WAVE file that was loaded directly onto the Modulo Media Server where it now plays in timecode sync with the 5.4k picture file roughly 28 times a day, every day of the year.
By making sound a priority from the beginning of the project’s development right through to the end of the final mix, we were able to add a lot of production value to Wild Squad Adventures while staying on budget.
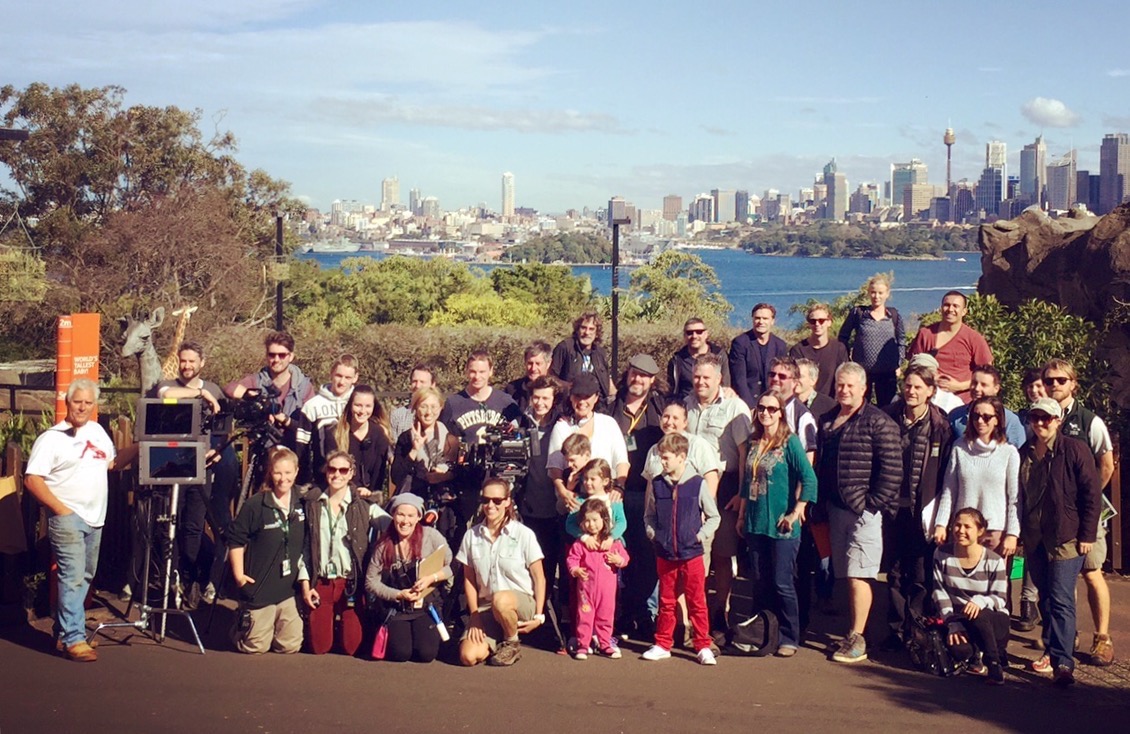
The Wild Squad Adventures crew
In many way the sound mix is that final bit of polish that a project gets and as such it is often one of the most satisfying parts of the production process for both Clara and I.
As always, sound contributes so much of what the general audience identifies as “quality” but also has such a powerful ability to influence the audience emotionally, usually without them ever being conscious of it.