
I have four single mic Rycote windscreens that come from two (maybe three) different generations of design/construction. My two WS2 windscreens are very recent, and much sturdier in build than my two WS4 windscreens. There’s some field recording I’d like to do over the summer, but I have concerns about getting these windscreens safely out to some of the locations I want to hit. I want to be able to throw them in and out of a backpack quickly without concerns of deforming them…which is actually very possible with the older WS4s. So I thought I’d try out an idea I’ve had for a long time…build travel cases for them out of PVC materials.
One of the main reasons I haven’t done this before, is because of the tools that I would need to get it done. I figured I would at least need a large bore drill and a jigsaw to pull this off. I didn’t have any other pressing, or even hypothetical, projects that would require these tools, so investing in them just to build these felt like a waste of cash. Currently, I live in a town where the public library also has a tool lending service. Just walk in with a library card, fill out the safety release, and you have access to far more tools than I can store in my apartment.
Main impediment eliminated. Time to do some building.

I did some initial measurements and figured I would need at least 16.5 inches per WS4 and 13.5 inches per WS2 to provide a little clearance on each end, and that the tube would need to have a 5 inch interior diameter. I don’t have a Rode blimp, but…according to the measurements on the Rode website…a 5 inch diameter pipe should fit that as well. 5 inch diameter Schedule 40 PVC pipe is actually somewhat rare, a fact I didn’t realize until I started looking for a place to buy one. The only place I found that I could buy any at was PVC Fittings Online. They sell this size pipe in 5 foot sections, which…if you do the math with my above measurements…is just enough for my four windshields. This site also sells caps for the 5 inch pipe, which is something I wanted for the cases as well. Score!
The pipe and eight caps I purchased cost me $121.67 (after $34.63 in shipping costs). Additional materials for the project that I purchased was a half yard sheet of 1 inch thick heavy duty foam (purchased in person at JoAnn Fabric for about $7), and a small bottle of clear PVC cement from Home Depot for $5. I also used some all-purpose glue (think Elmer’s/school glue) and sand paper; both of which I already owned. So I was able to build my 4 cases for just under $140 (if you add in the cost of the glue and sand paper I already owned), which averages out to just $35/case.
So how did I build these out of the raw materials?
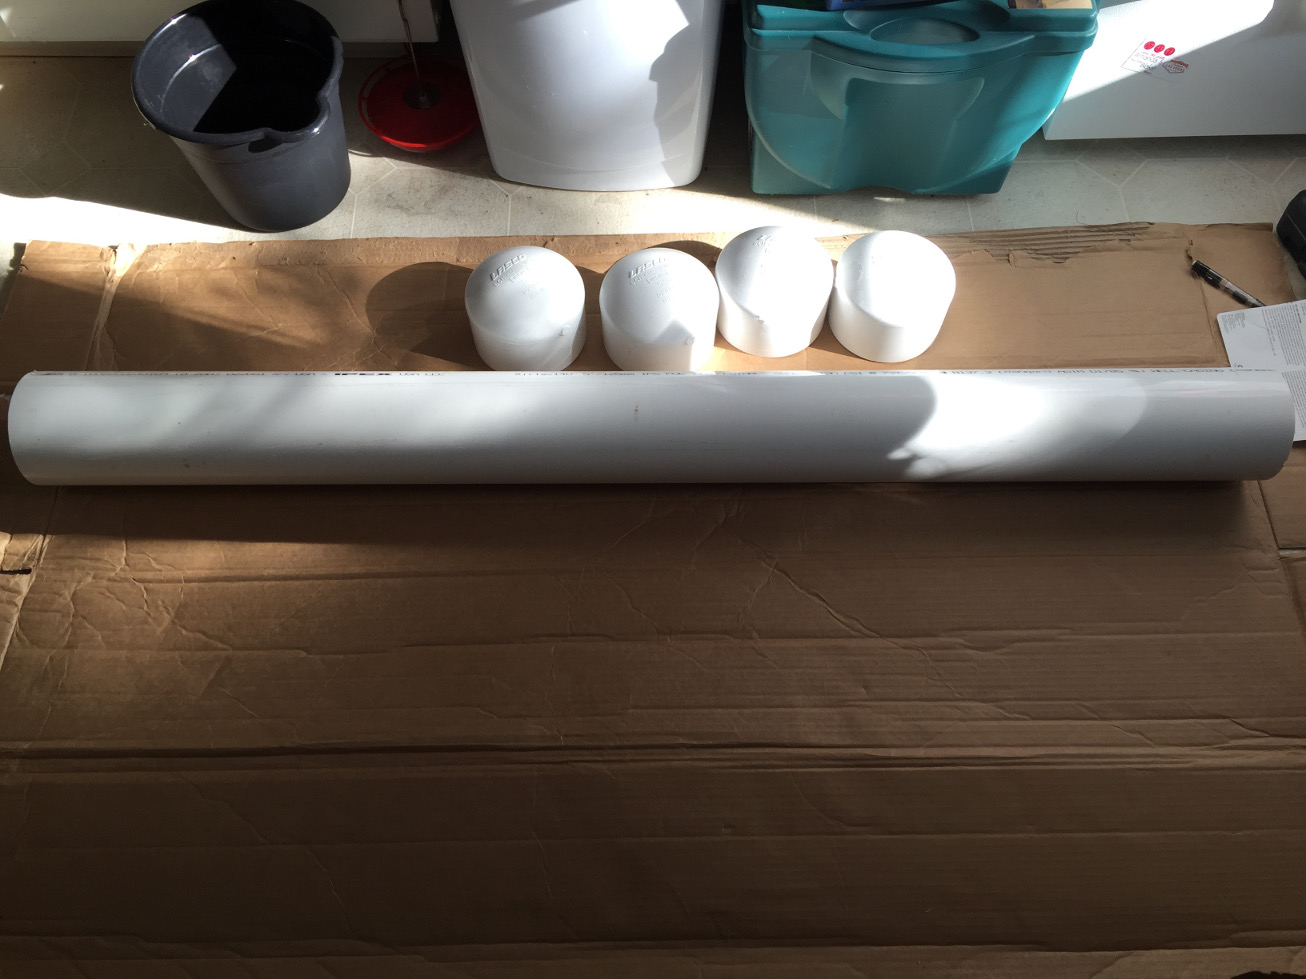
Once all the materials arrived, I had to get the tools from the library. I picked up a large bore drill and a high speed steel 3/4″ drill bit. [note: do not use a standard wood bit for drilling the PVC, use high speed steel or oxide bits only.] I also got a Sawzall, because they did not have a jigsaw available. I think a jigsaw would be safer for this type of project, but the Sawzall worked fairly well. [note: use a wood cutting or general purpose blade for cutting PVC, do not use a metal cutting blade…the teeth are too small.] I also have a Wen Rotary tool that I picked up for another project. If you know what a Dremel tool is, it’s the same thing…just significantly cheaper. I picked this up for about $21 off of Amazon. As I was going through the build, I realized that I probably could have done the whole thing with just the rotary tool. It would have been more difficult, but it could definitely work if you don’t have access to the other tools and don’t want to spend the money on them.

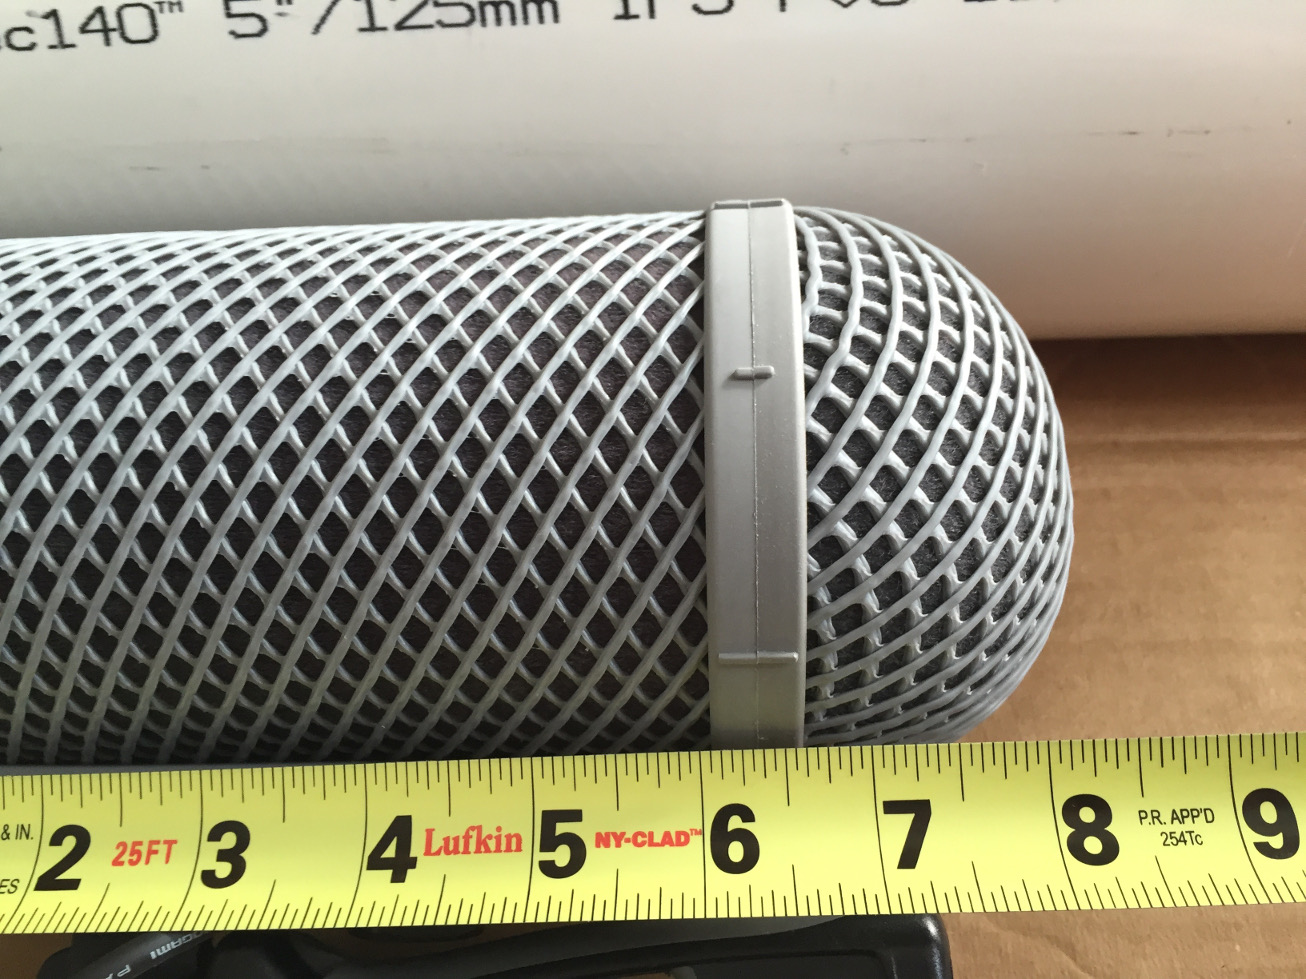
The first thing I did was re-measure my blimps, and measure the depth of the caps to calculate where I should cut the pipe.
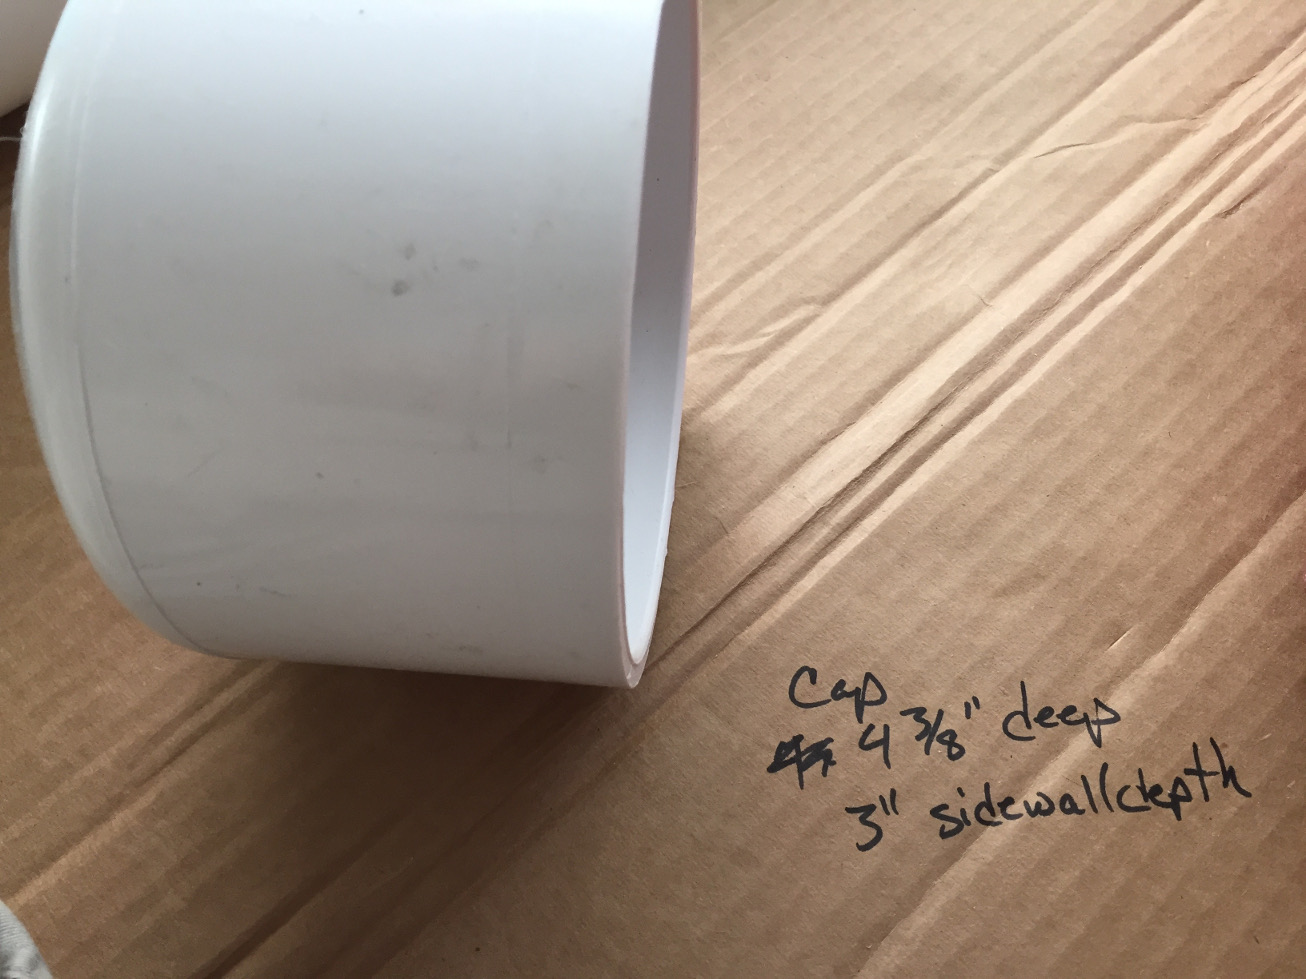
It turns out that the caps were providing the extra clearance that I wanted for the foam. That meant I could cut the pipe to exactly the length of the blimps. So a pipe that was originally just barely long enough, now had some wiggle room.
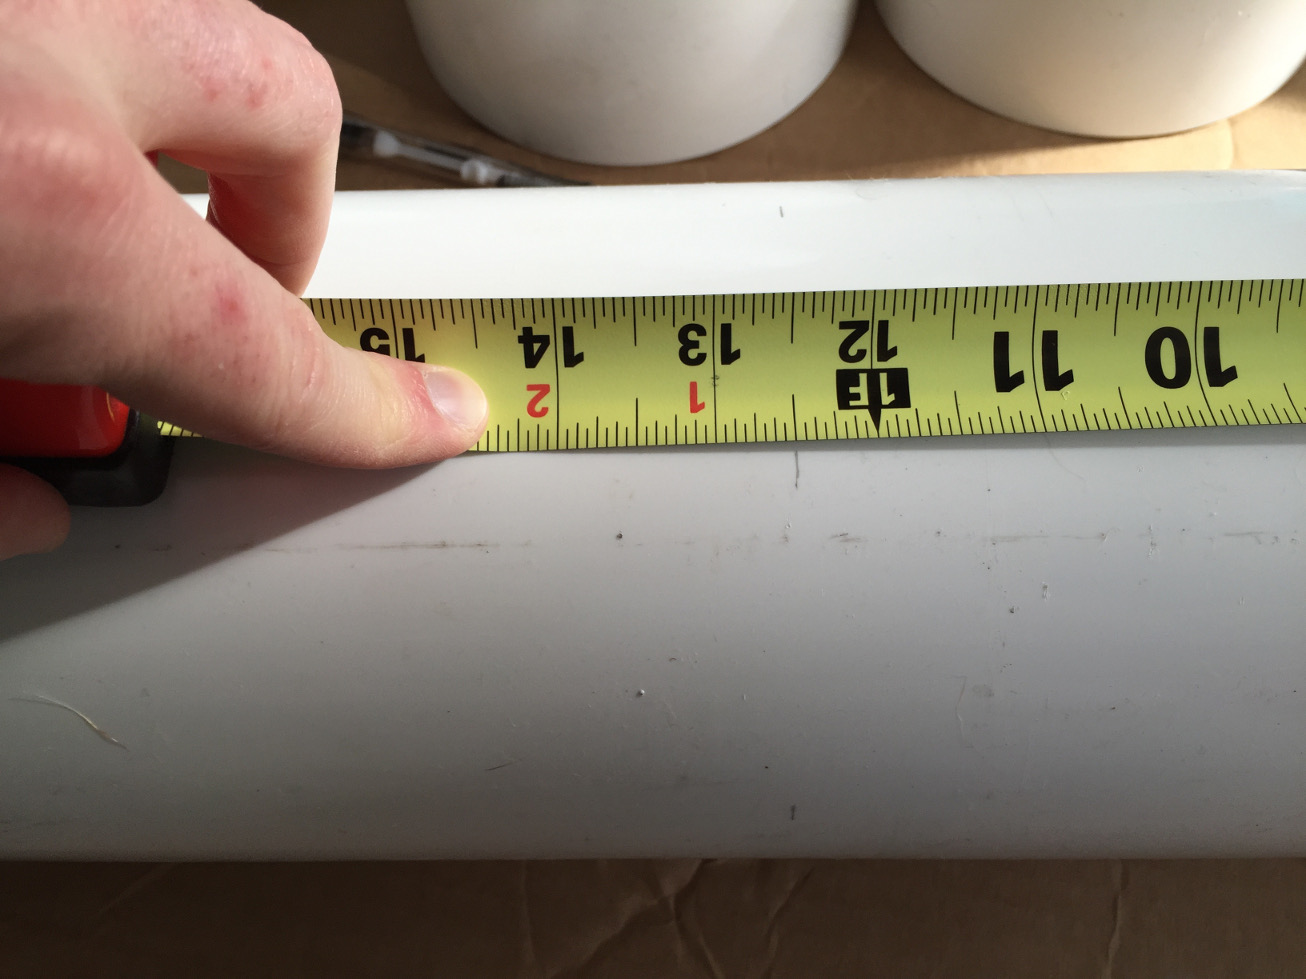
I used a tape measure and pencil to marked the blimp length on the pipe (rounding up to the nearest 1/2 inch mark for safety); marking multiple points around the circumference.
I then used a piece of thin (not corrugated) cardboard/card stock to draw around the circumference of the pipe with a fine point sharpie, connecting the pencil marks. This made it easy for me draw a straight line around the tube to guide my cutting later.
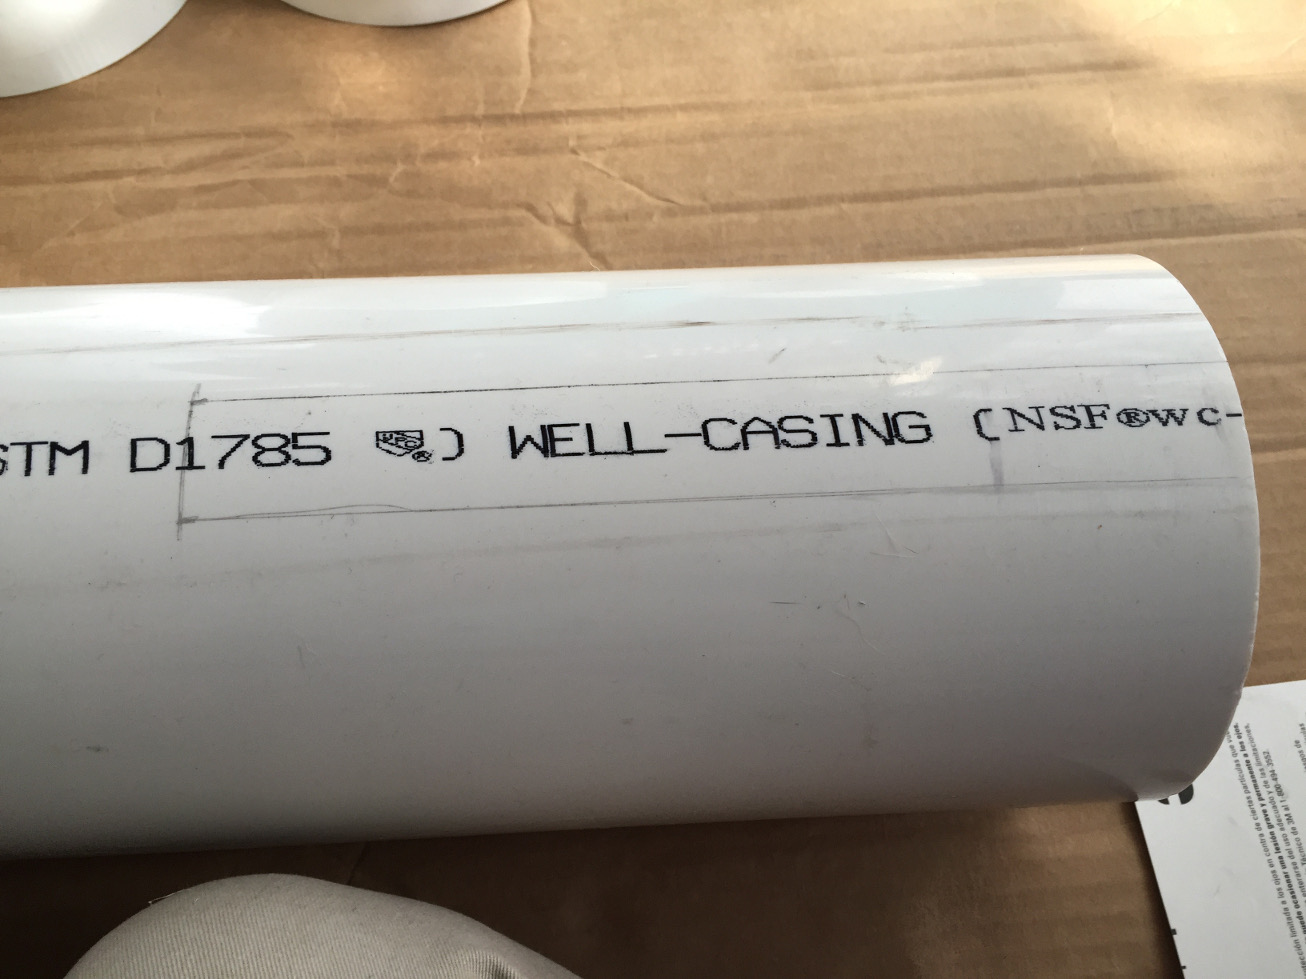
Next, I needed a channel to fit the handle and windscreen mount through the case. I measured from the back of the blimp to just forward of the front mounting screw. You’ll need to measure yours. My two WS4 blimps required different lengths, while the two WS2 blimps matched each other. I marked the channel cut out using pencil.
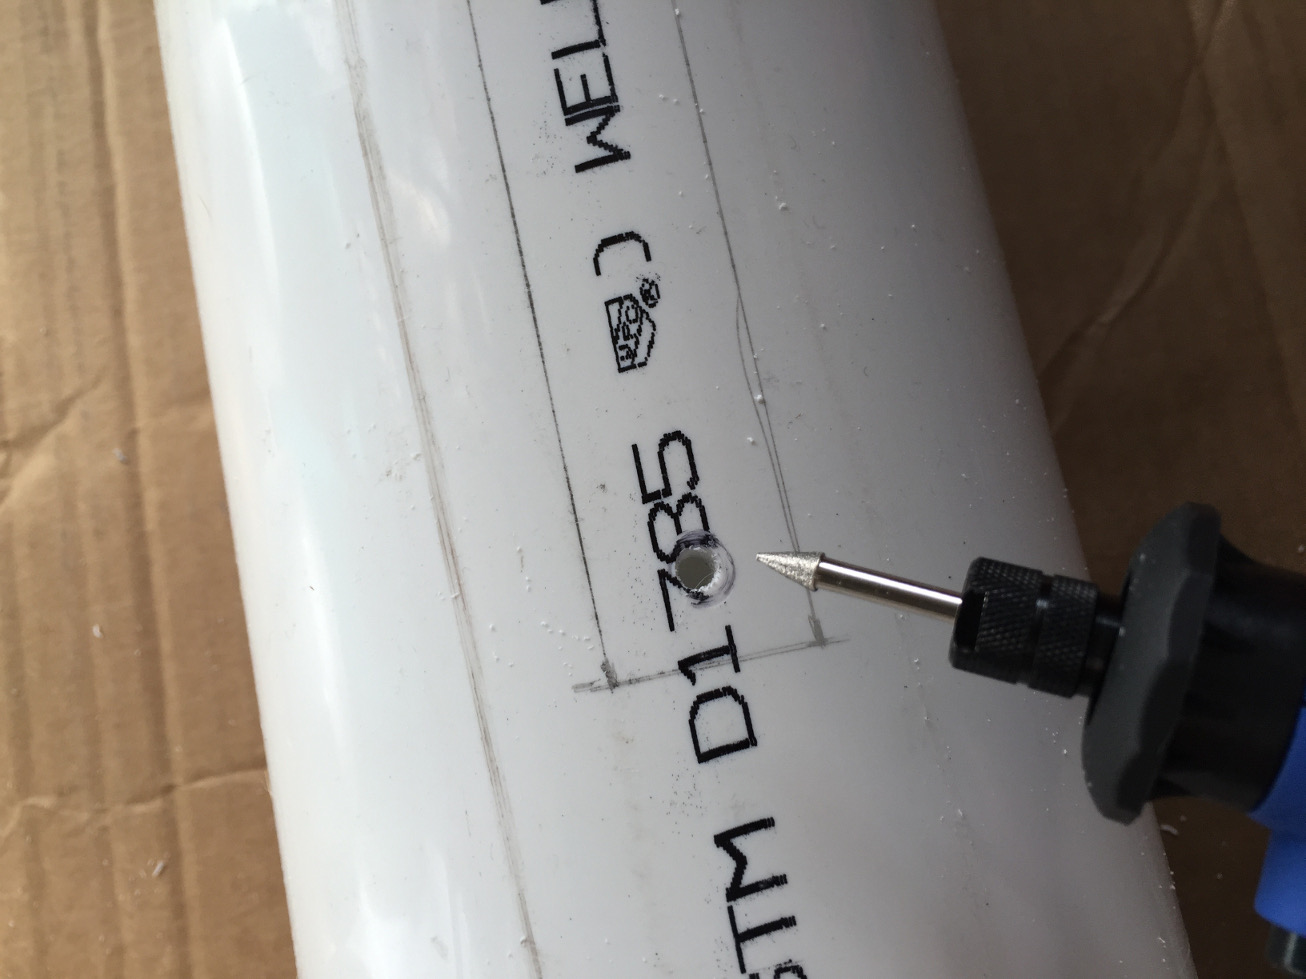
I wanted to drill a hole at the base of the channel to make cutting it out a little easier. Before doing that, it is necessary to give yourself some sort of starter notch or hole. You’re going to be drilling into a round surface, and it would be very easy for a drill bit to just slide off. You can do this with a smaller drill bit, but I used my rotary tool.
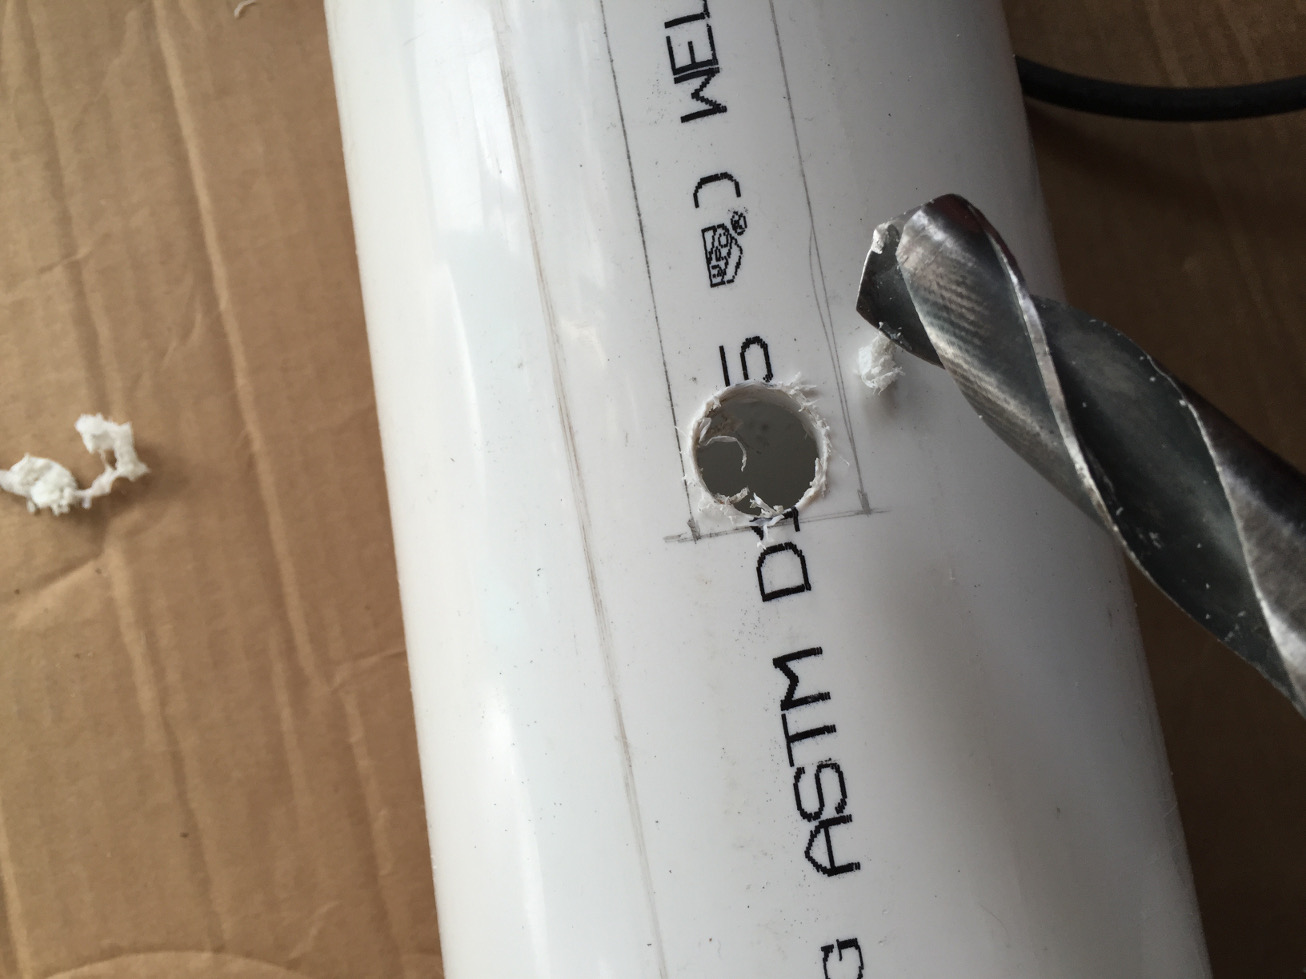
Once that starting hole was ready, I drilled the larger hole using the large bore drill bit. I think it was a 3/4″ bit.
I then used the rotary tool create little starter notches to guide the Sawzall blade (6 inch general purpose blade)…

…cut down both sides of channel with the Sawzall, cleaned up the sides and bottom of the channel using the rotary tool, and sanded all of the edges. This helps protect your hands and any permanently attached cables that might be part of your blimp system. Check the fit, and make adjustments as necessary (the rotary tool was really handy for that).
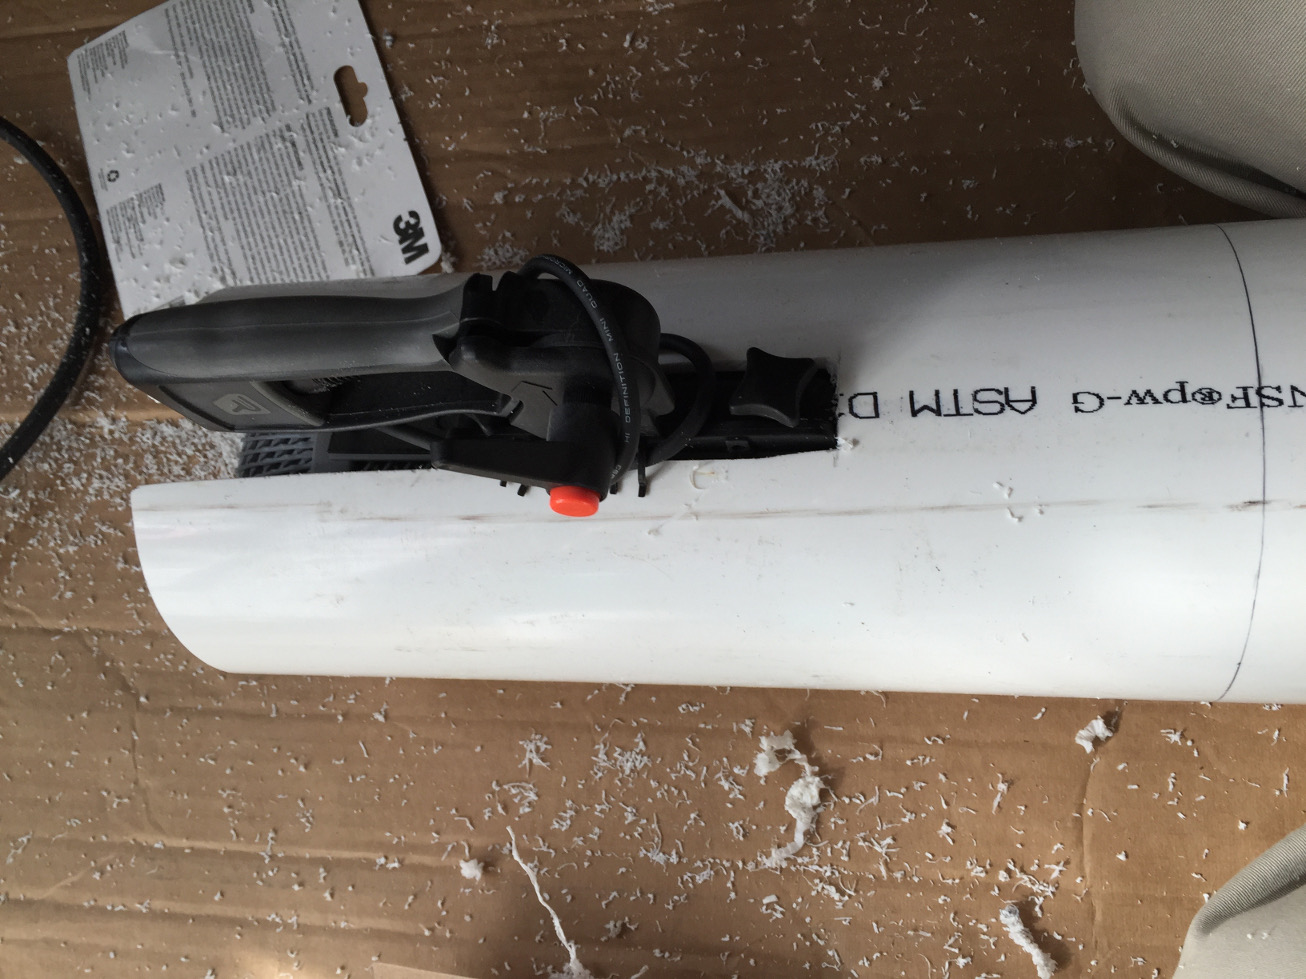
Now, you need to create a starting channel for the cross cut that you’ll make to separate the first “case” from the rest of the pipe. This will give you a guide for the Sawzall/jigsaw, and give you a cleaner end. I used the rotary tool for this again.
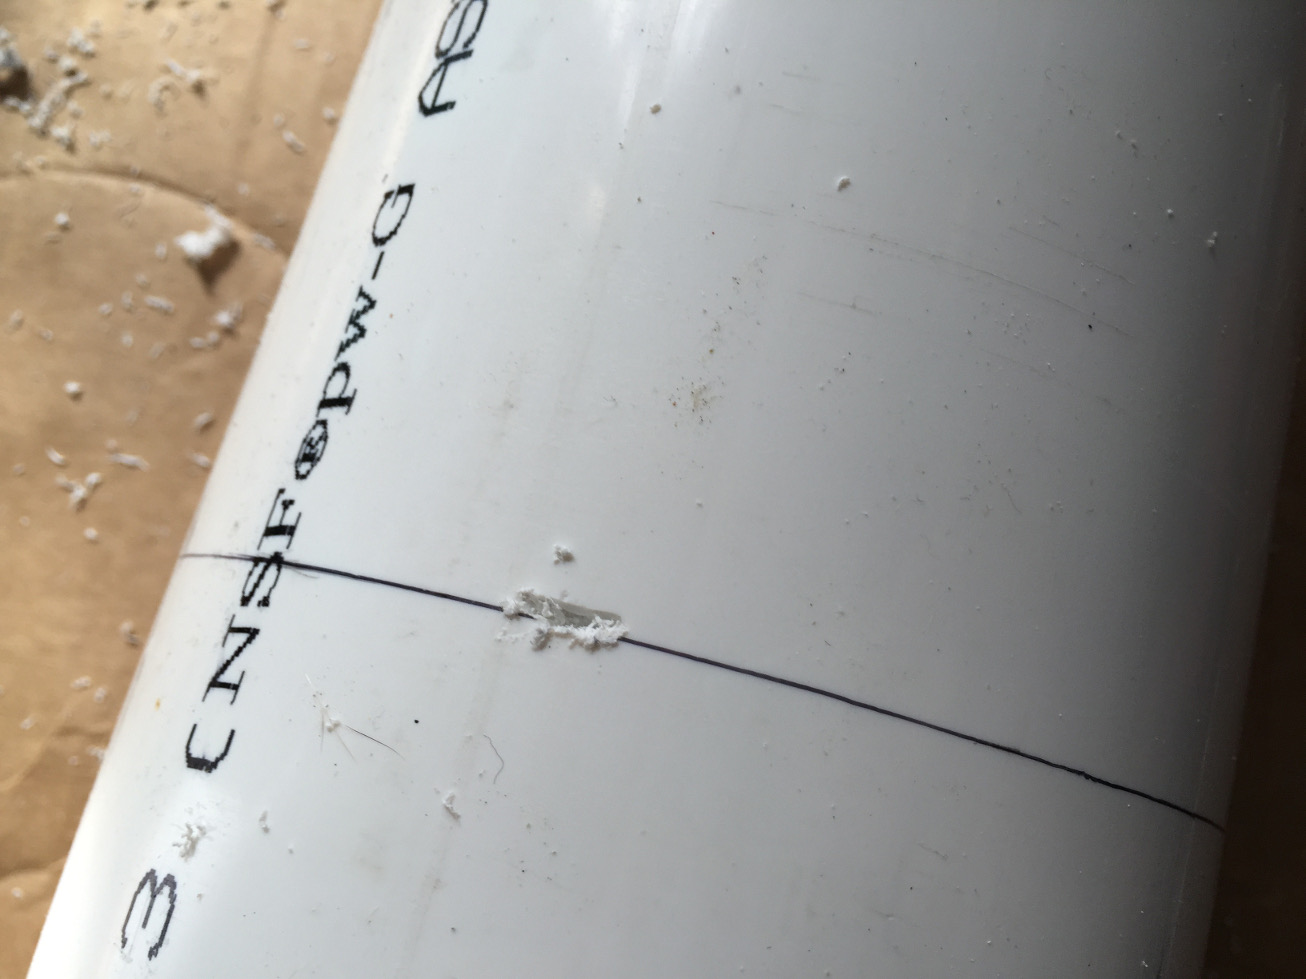
I then repeated each of these measuring and cutting steps for the remaining cases, then sanded down the ends of each case.
Next comes marking out the foam. Find something to use as circular guide that’s a little smaller in diameter than the pipe. I used a large mug. Using a pen or marker, trace out circles on foam for each cap (in my case, eight).
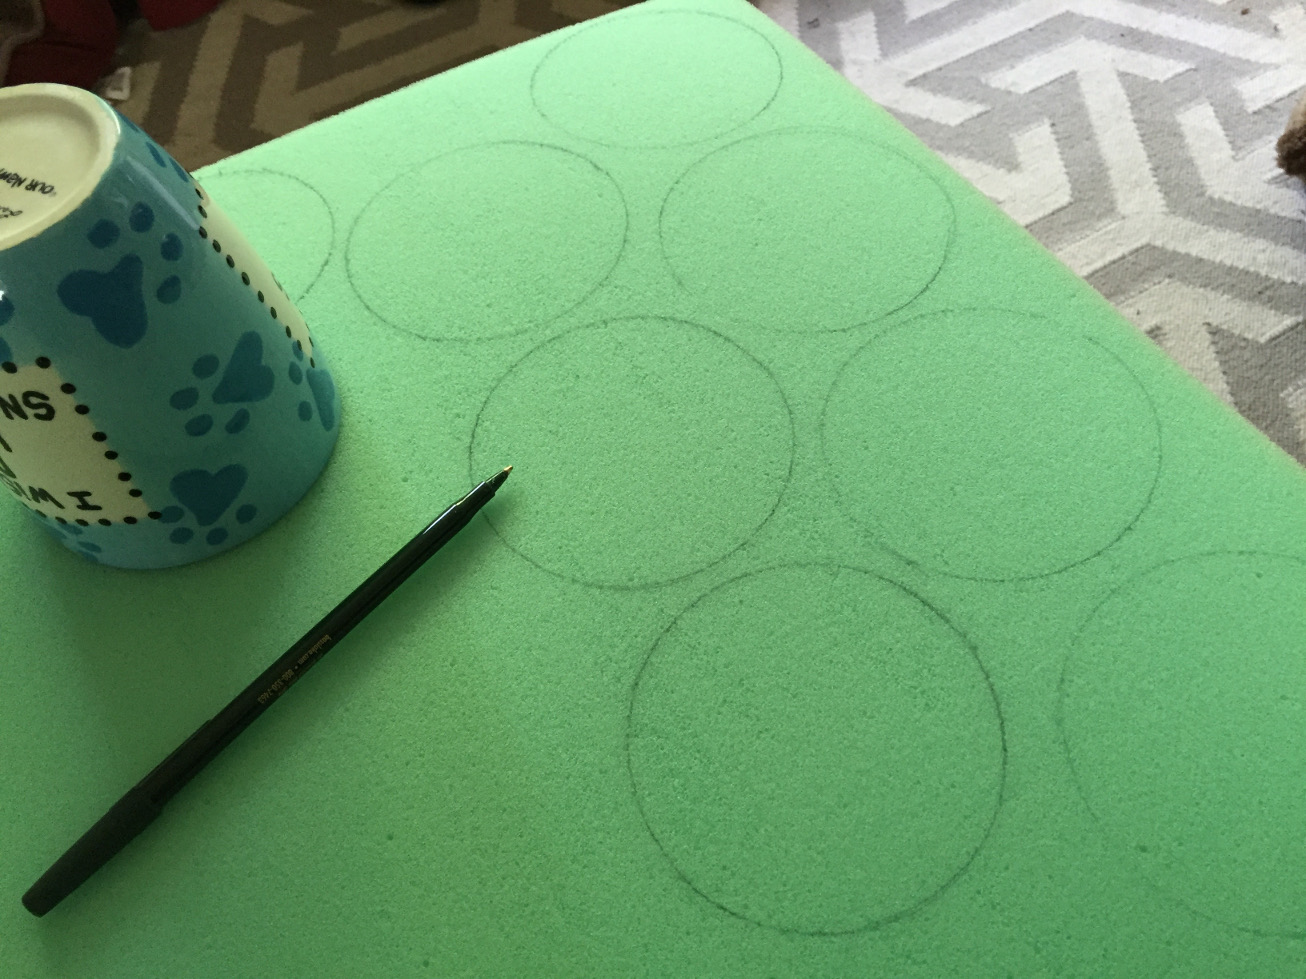
And cut them out…

Apply one side of the foam with liberal amounts of glue, and I do mean liberal. I had to re-glue some because I didn’t use enough the first time. The photo below is an example of the pattern I applied, but also an example of too little glue. I re-did this one with a tighter crosshatch pattern. I used regular glue, because I was afraid using anything stronger might actually eat through the foam. Use whatever you think is appropriate, but the general purpose glue worked fine once I found the right amount.
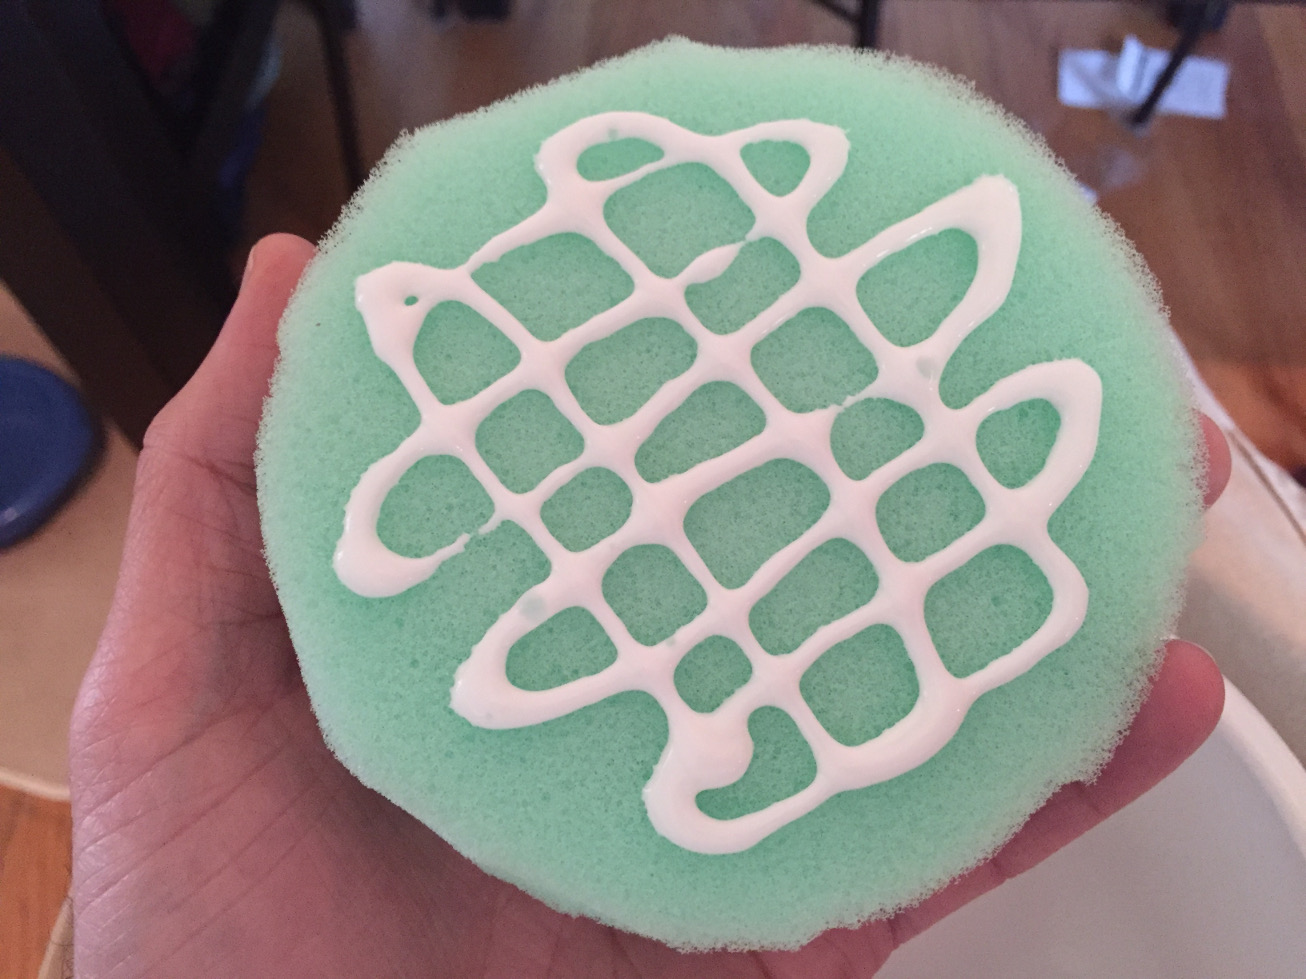
Place the foam in the cap and weigh it down. This part is important. Any caps you get are likely going to be curved. If the foam isn’t weighed down, they won’t actually adhere to the surface. I have a number of rounded paper weights that were perfect for this. If you don’t have that, you might need to use something like a baseball with additional weight sitting on top of it. Let sit for 24 hours.
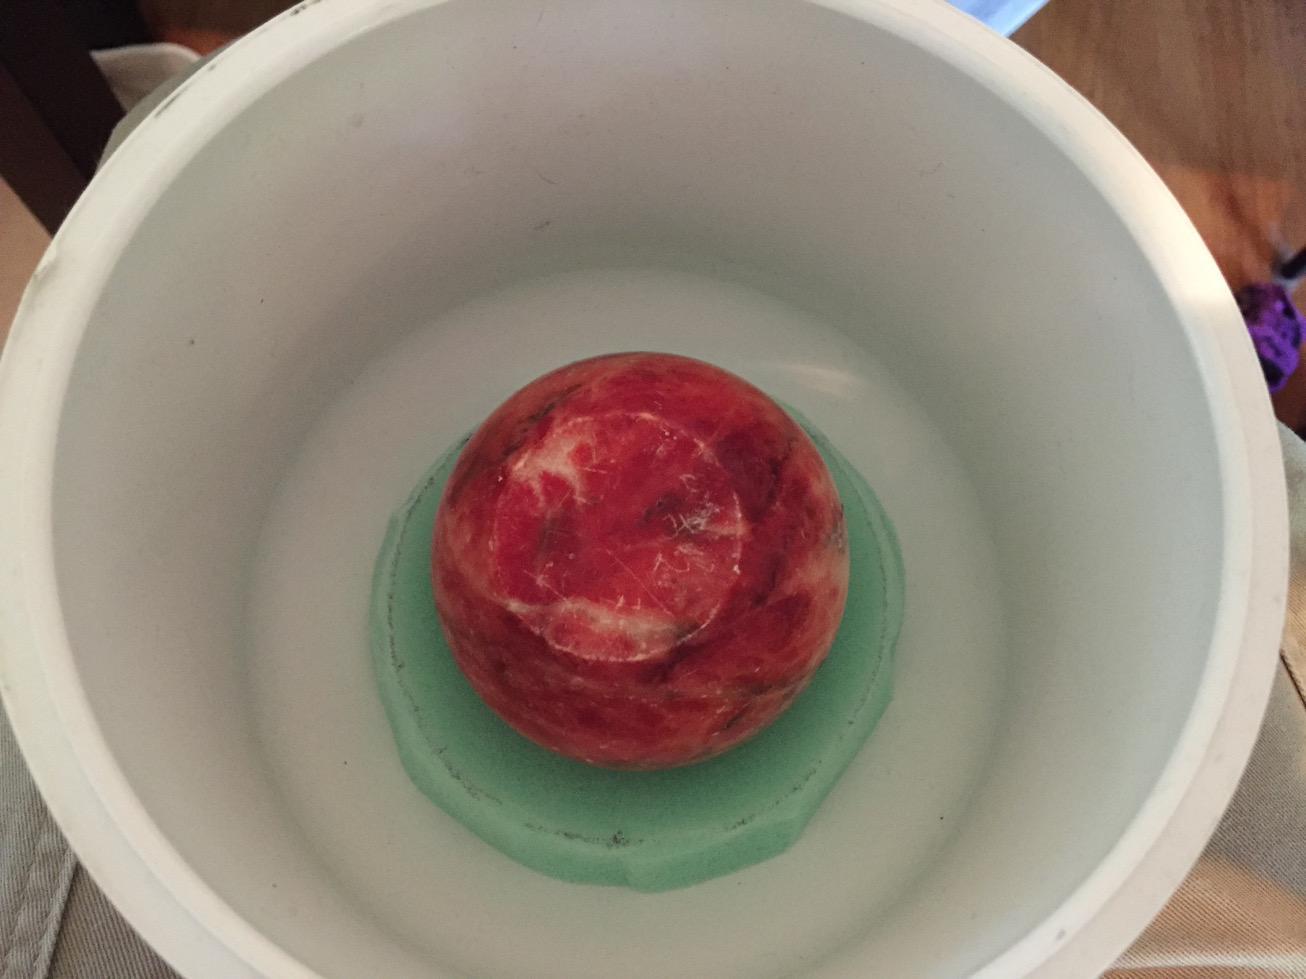
Once your foam is firmly set inside the caps, we need to glue one to the bottom of your case (the end opposite of your handle channel). I cleaned the inner sidewall of the cap and the outside of the case with rubbing alcohol to remove any dust and dirt. Once they dry off, apply a liberal coat of PVC cement to the inner side walls of one cap and to the outside of the bottom of your case (don’t let it go past 3 inches on the case…the depth of the cap’s sidewall). You need to put a fair amount on, because you want it to stay wet until you place the cap on the case. If the cement starts to get tacky before you join them, it may not hold properly. Insert the case into cap, and hold with pressure for 20 seconds. Wipe any excess off of the outside of the pipe. Repeat this for each case…only the bottom cap, leave the top cap alone.
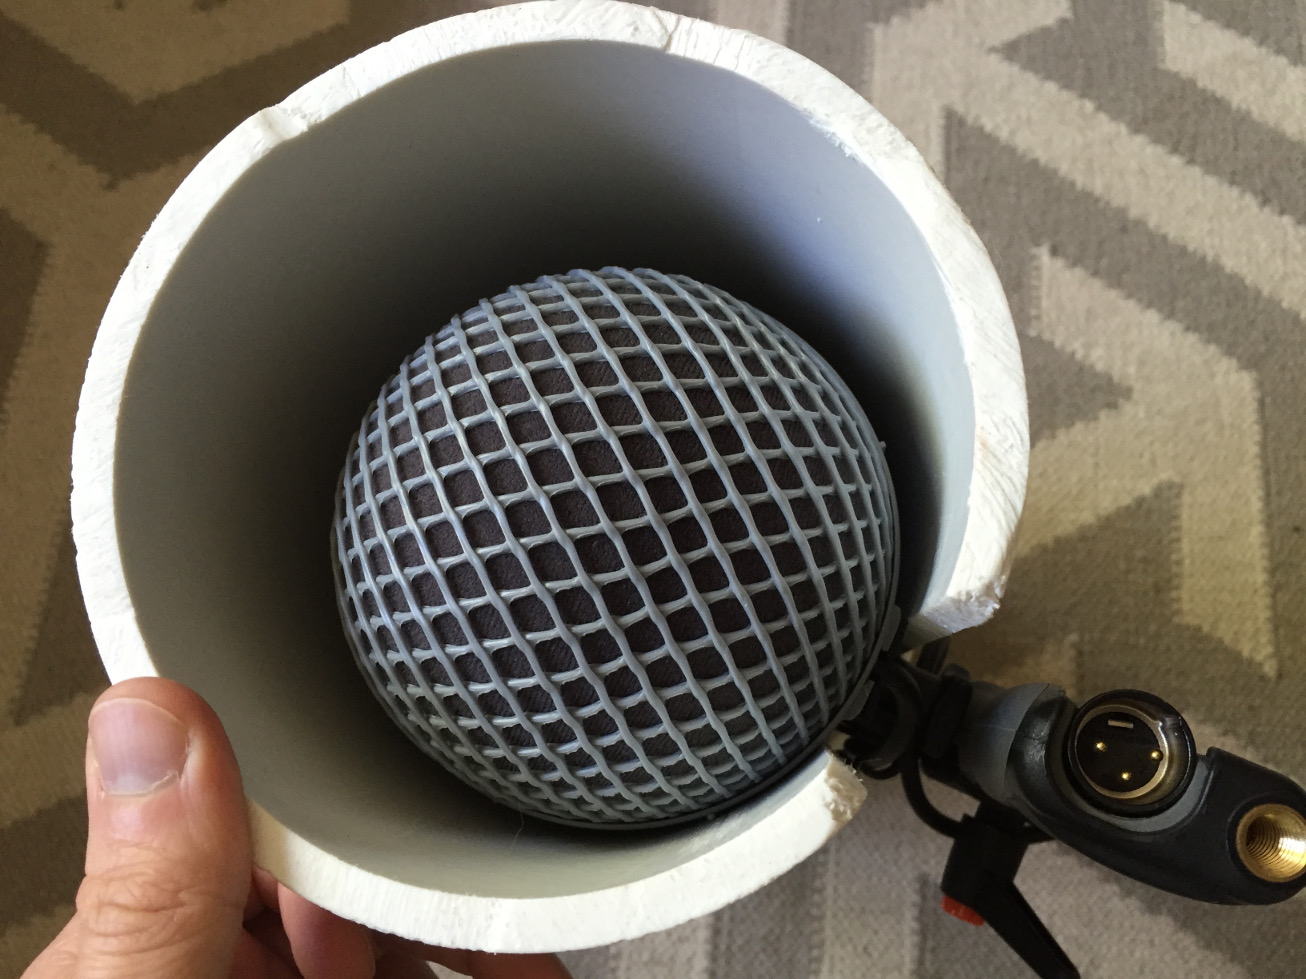
And that’s it. Your caps may have little stubs on the side from their manufacturing process. You can use a rotary tool to remove these if you want. I may look into attaching a strap or latch system to secure the top cap in the future, but that’s a pretty low concern for me at the moment. A simple piece of painter’s tape will hold that on fairly well. The cases can be a little on the heavy side, but not too bad. They’re somewhere around 6 lbs. each, but you can sit on the thing and your blimp will be totally safe inside.
Super smart solution, Shaun! (Always alliterate, agreed?) Great walkthrough and seems like a cheap and simple project. Thanks so much for sharing! Now I need to see if they have pipe wide enough to do the AE size for M/S rigs…
Not necessarily, Nathan. (You and your allitleration!) Already ahead of you…6″ pipe. Slightly more common than 5″, but also not sold in anything less than 5′ lengths…not that I’ve been able to find anyways. If we can find a few people to split the cost on that with…